Import branches
BC Time now includes an import feature that allows users to load multiple branches into the system at once. Once imported, branches become available for selection and can be linked to employee profiles.
Since these are required when creating employee records in BC Time, the import option provides a faster and more efficient alternative when managing a large number of branches. Rather than adding each individually, users can import them in bulk, reducing administrative effort and helping ensure employee setup is completed smoothly.
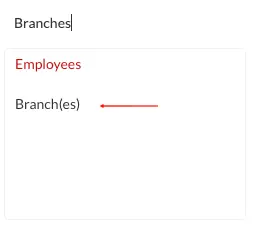
Step 1: Navigate to the import menu under branches.
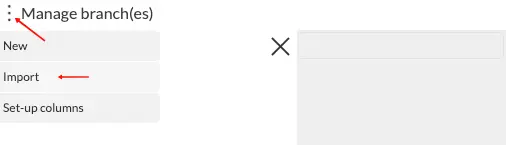
Step 2: Click the vertical ellipses (⋮) next to "Manage branch(es) to access the import view.
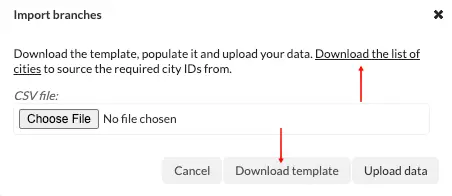
Step 3: The below pop up window will appear, allowing the user to download the list of cities available in BC Time as well as the import template.
Step 4: The below is an example list of all downloaded cities available in Namibia with their ID's that can be used to populate the import template.
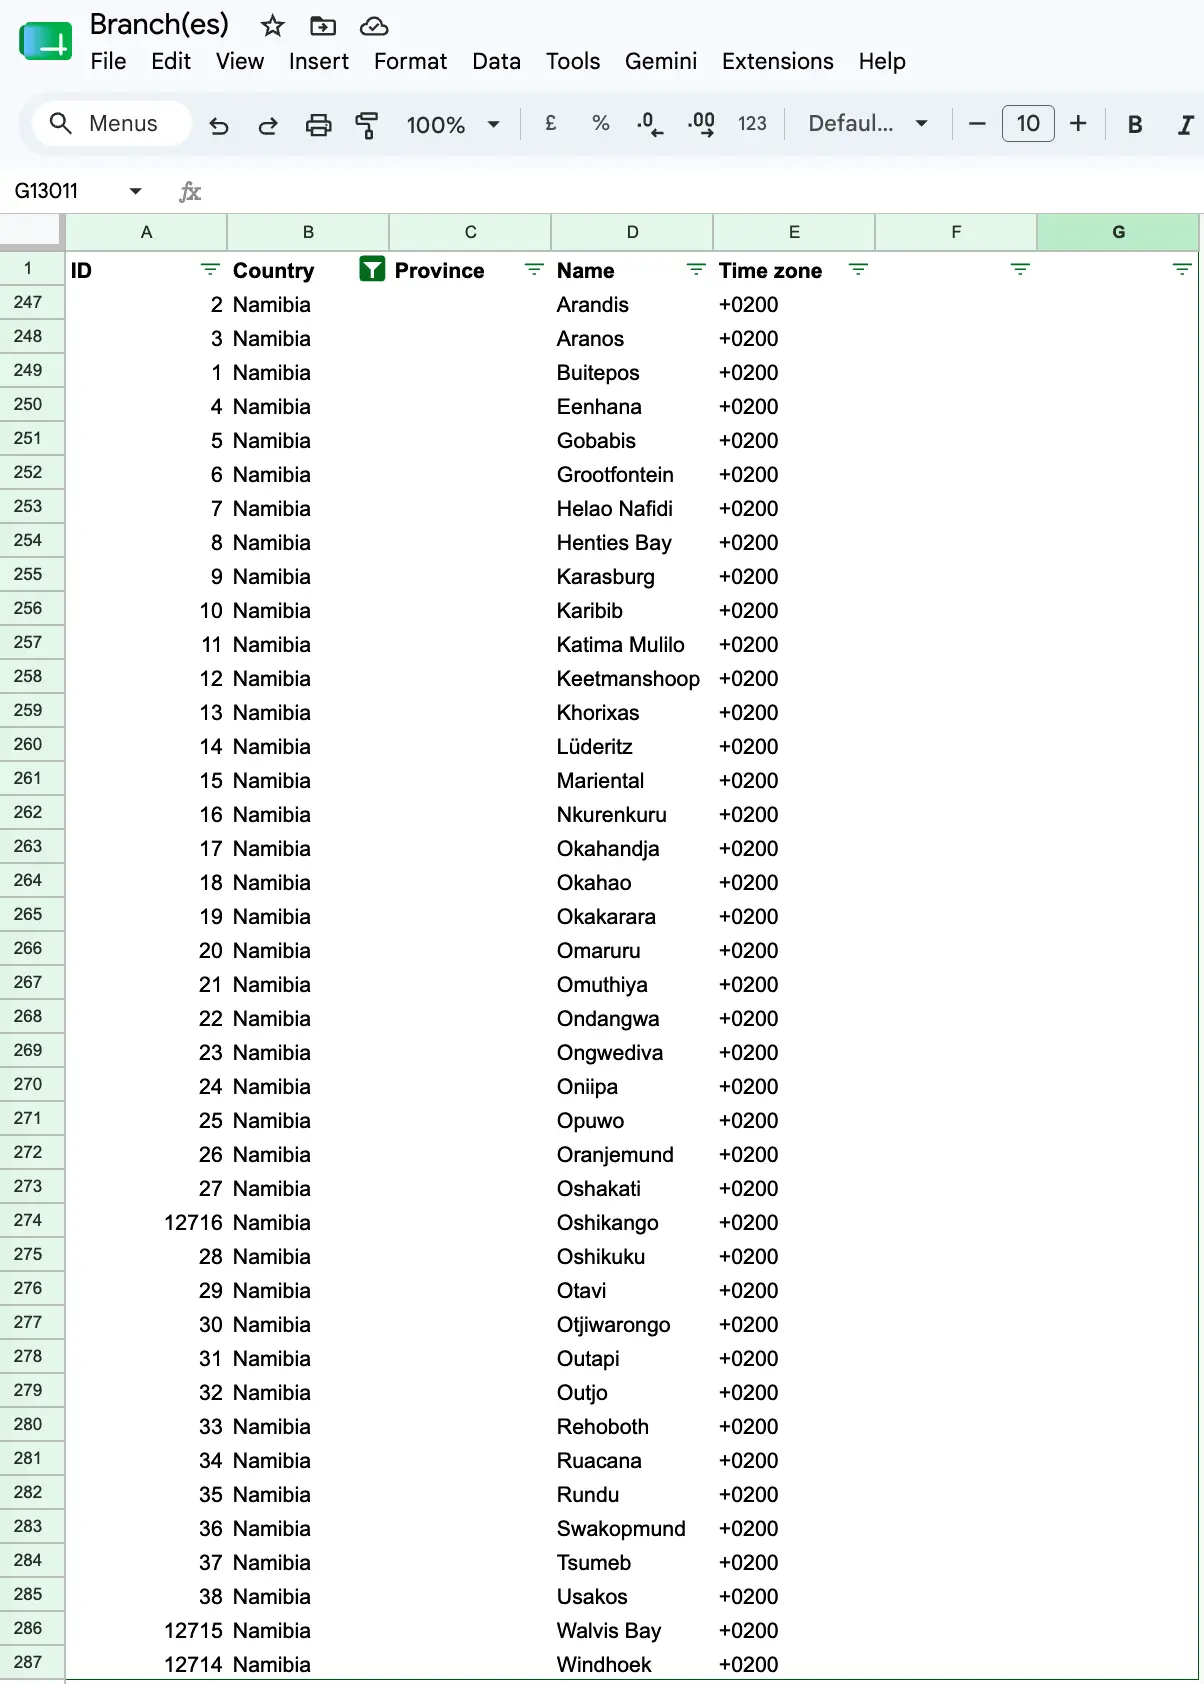
Step 5: Proceed to update the template with the branch name (Unique branch name) and city (City ID) as provided in the list of downloaded cities. The below image is an example of the namibian cities with their unique id's that we will be importing into BC Time.
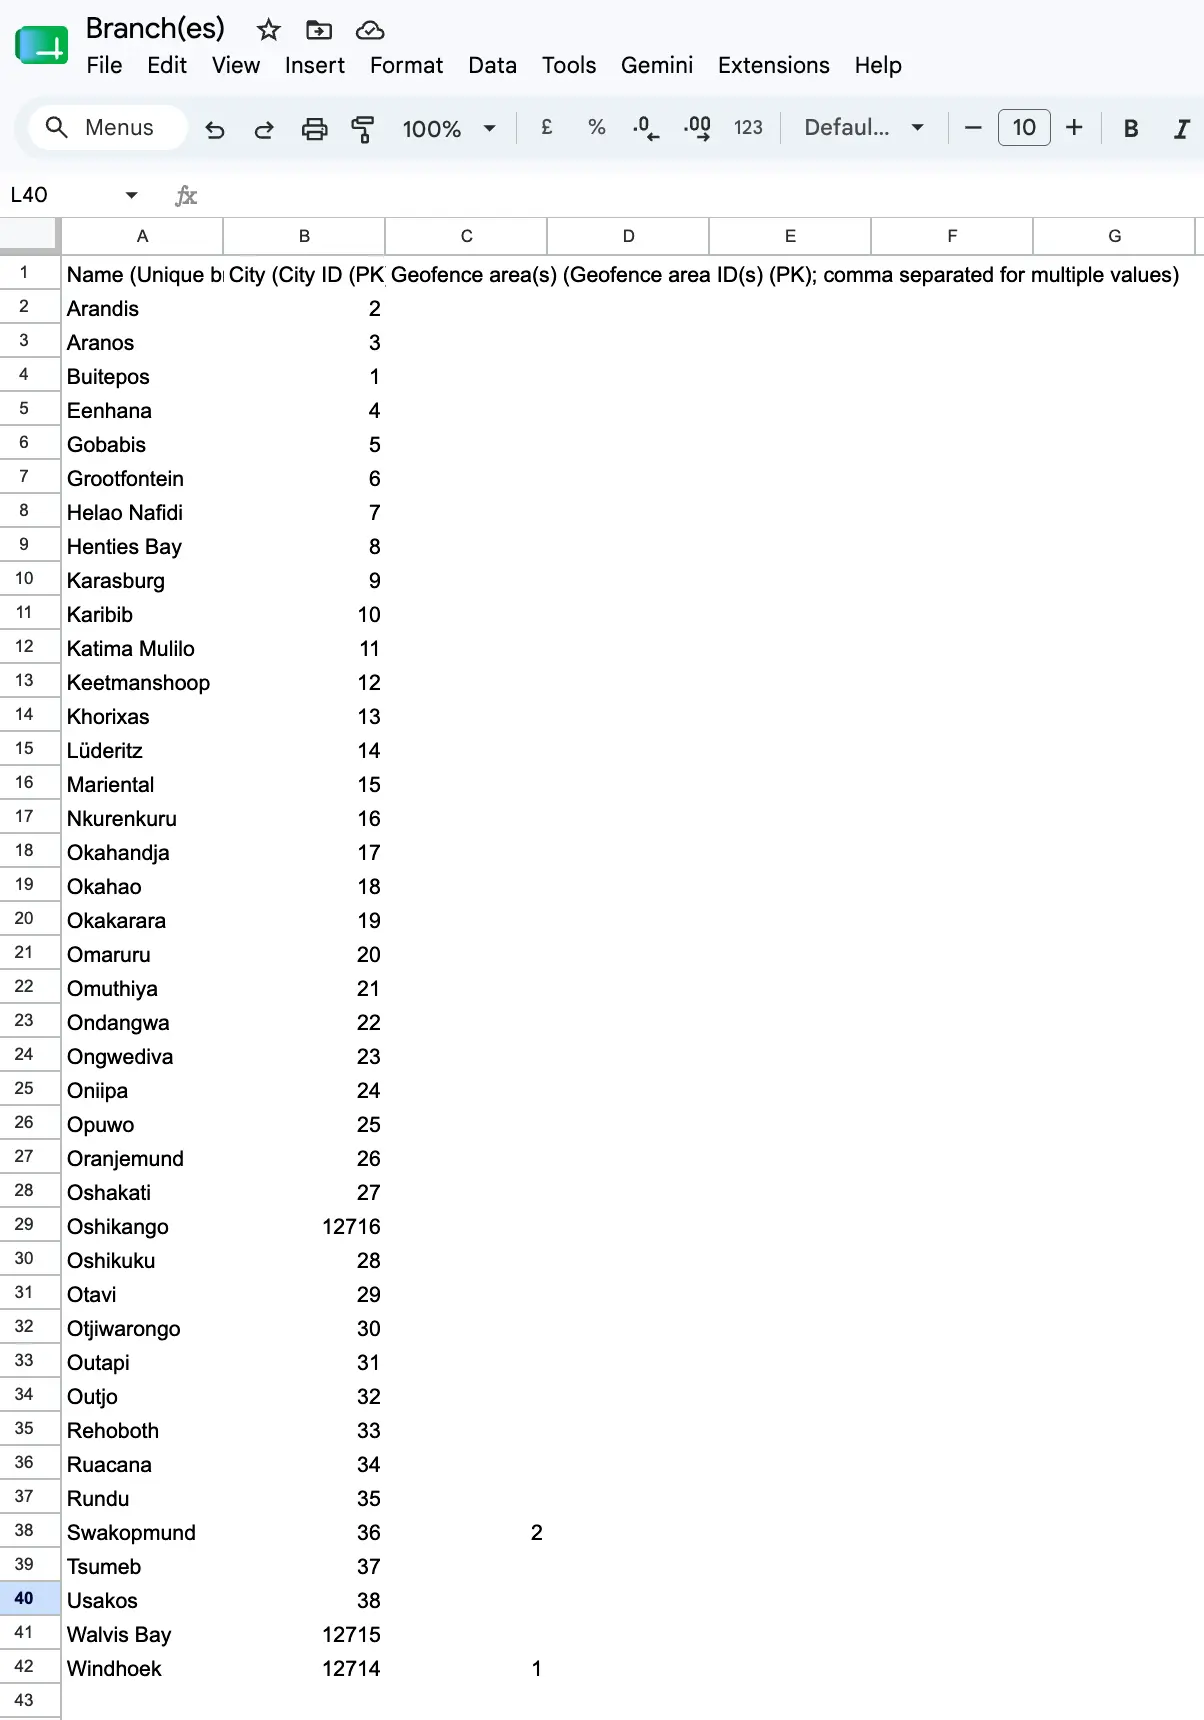
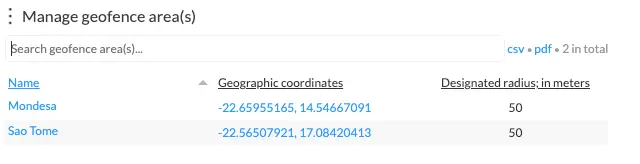
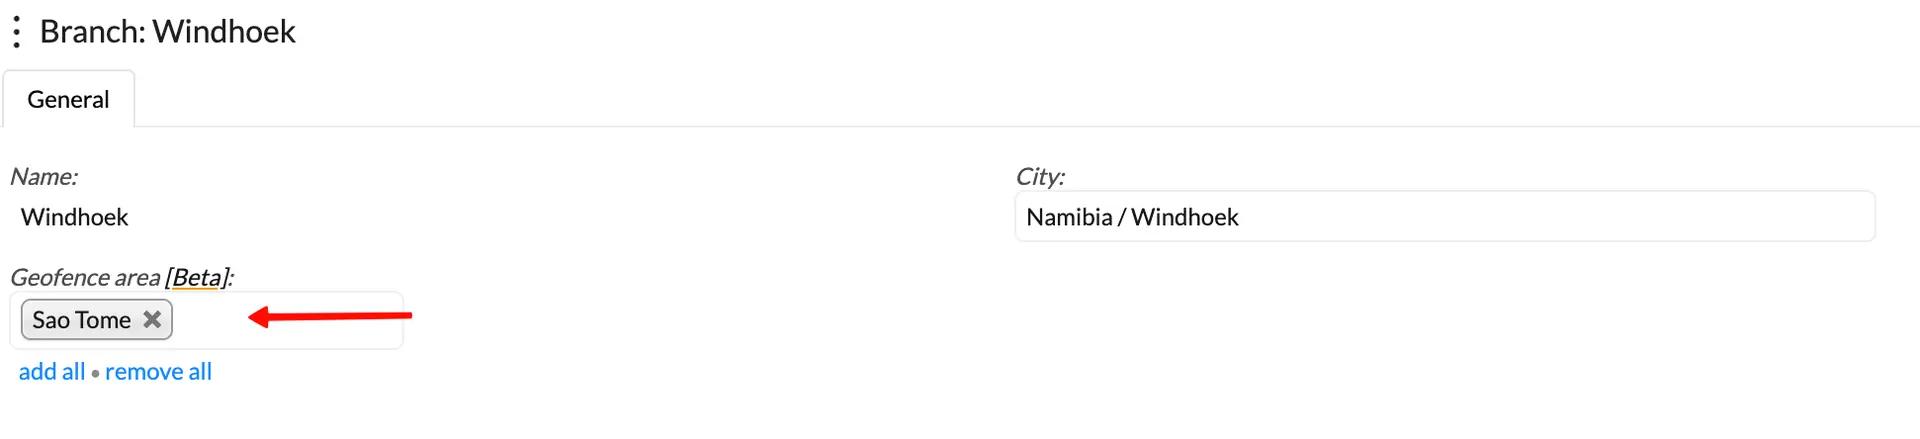
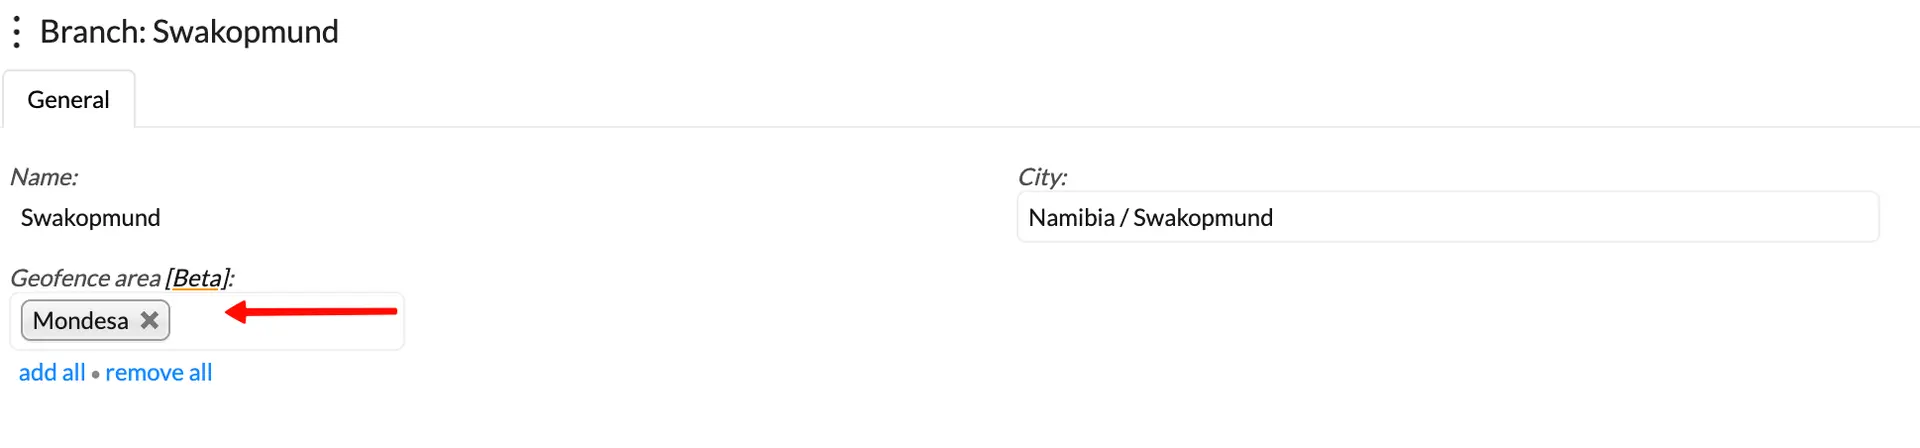
Side note: Profile using mobile attendance, can include the "(Geofence area ID(s)" if this are applicable for their profile. In the sheet above Swakopmund (2) & Windhoek's (1) geofence id has been included in the import template. Thus once import is successful, the created areas will be linked to the designated branches as shown in the example below.
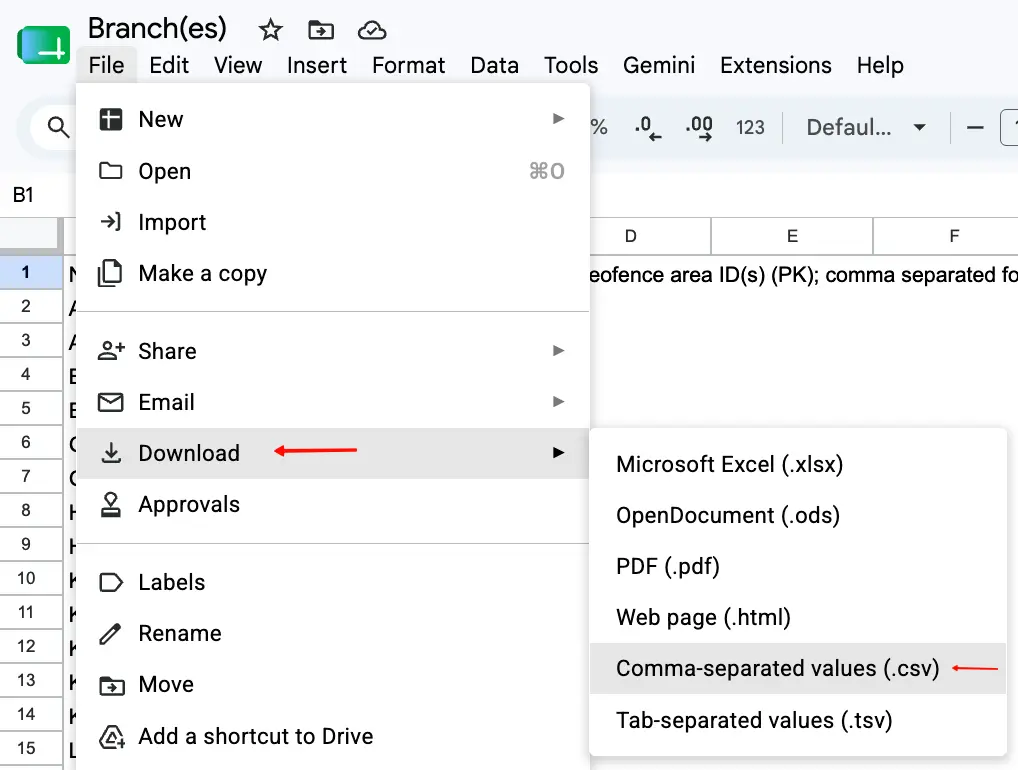
Step 6: Once the template has been update, download the template as a csv. file ensuring that only the data required for import is in the downloaded file.
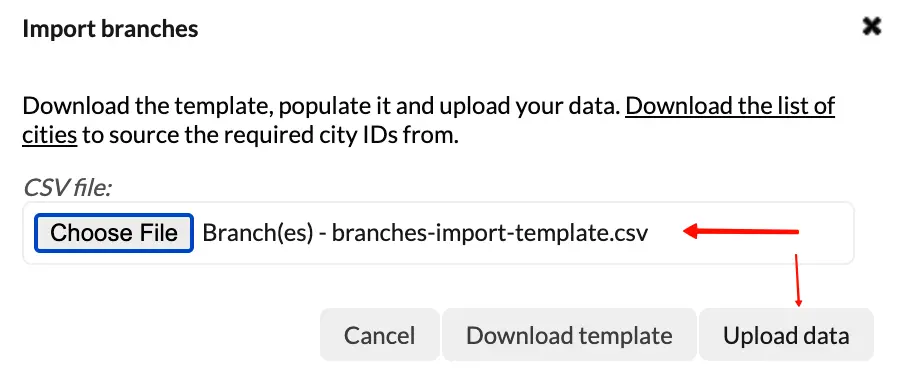
Step 7: In the import window, select "choose file" to attach your downloaded template and select "upload data" to import.
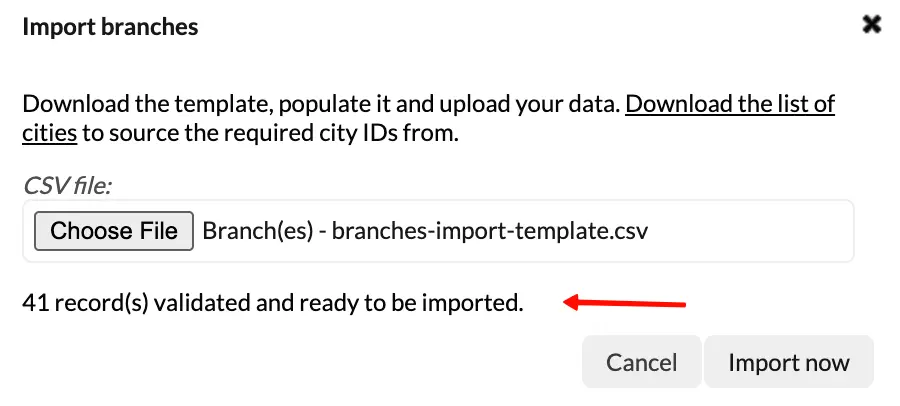
Step 8: BC time will proceed to validated the records in the template, and advise that data is ready to be imported if no validation errors are returned. Click "import now" to execute the import.
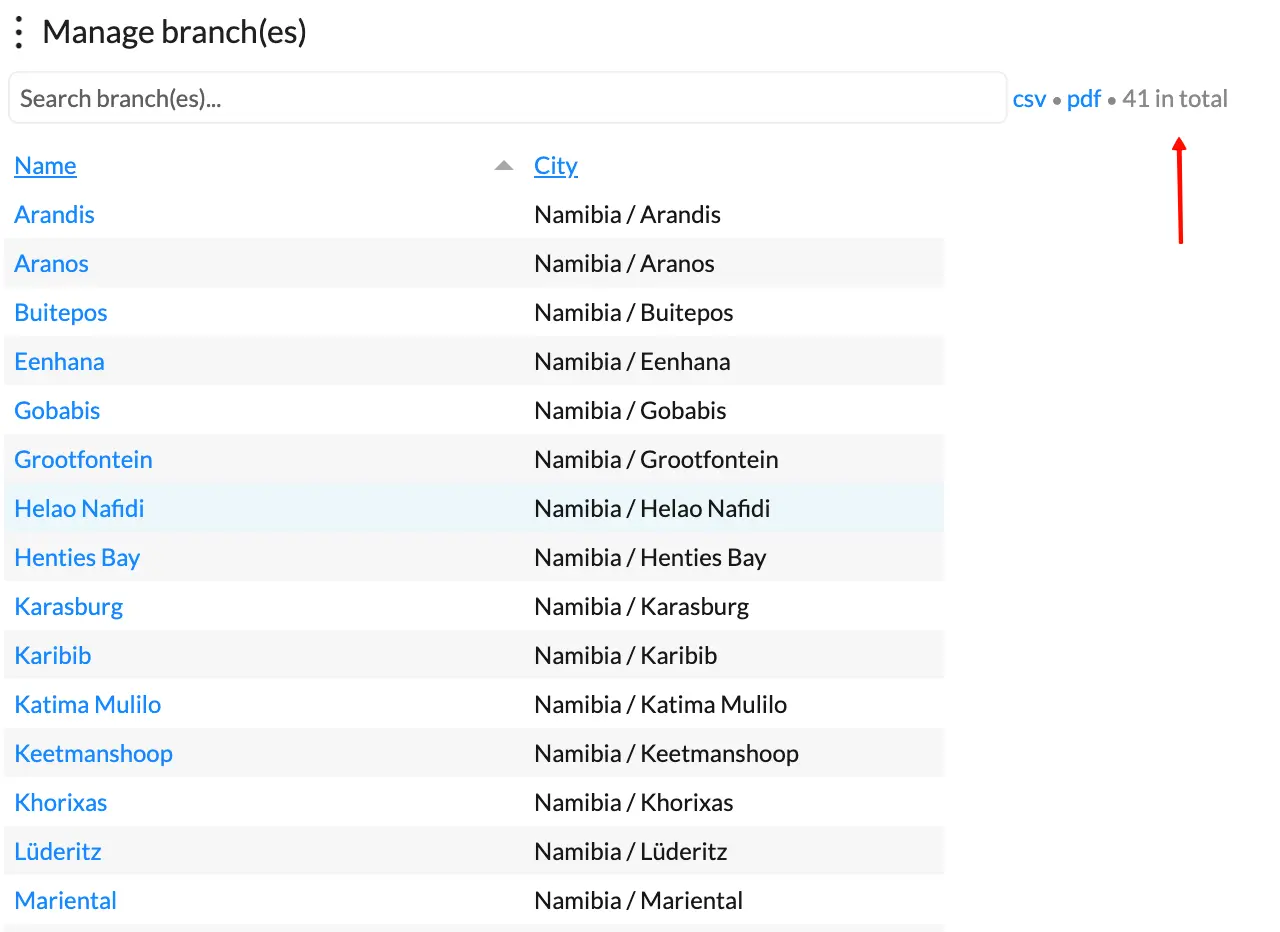
Step 9: Once successfully imported, the branches will appear in BC Time as per the example below.
There are no comments for now.
to be the first to leave a comment.