Fingerprint enrollment on IN01-A
How to enroll fingerprints on a ZKTeco IN01-A terminal
The easiest way to enroll fingerprint templates, is to make use of an enrolment reader (Refer to our product page) together with the Binary City Time Enrollment application. However, it is also possible to enroll directly on a IN01-A devices.
The instructions below will guide you in this process.
For the enrolment of users on the IN01-A device, the staff member must first be loaded in Binary City Time.
Ensure that the staff member is loaded on Binary City Time and synced to the device first (never enroll a new user without creating the person in Binary City Time first).
For instructions on how to load a new employee in Binary City Time, please refer to the section in our manual, by clicking here.
Step 1. Create the employee in Binary City Time.
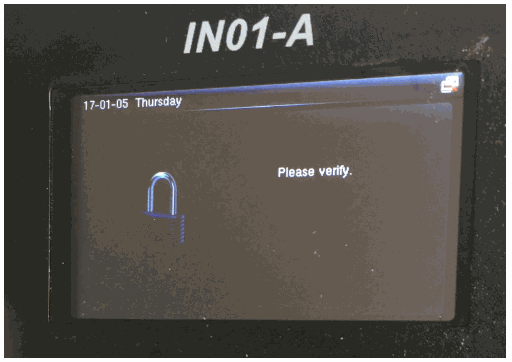
Step 2. On the IN01-A device, press the Menu button.

If any administrator, has already been linked to the device, it will indicate: “Please verify”, which means that general staff members cannot open the menu of the device. A registered “device administrator” needs to then open the menu with his or her registered fingerprint (or pin code, or RFID card).
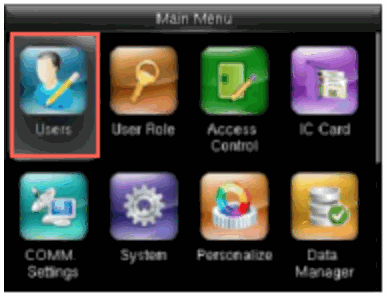
Step 3. Once the menu is open, choose Users by pressing the OK button
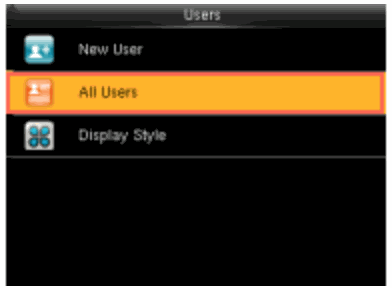
Step 4. With the arrows, scroll to All Users and press the OK button
Step 5. With the arrows, scroll to the employee you wish to enroll and press the OK button.
Step 6. Now Edit will be highlighted - simply press the OK button
Step 7. With the arrows, scroll to Fingerprint and press the OK button
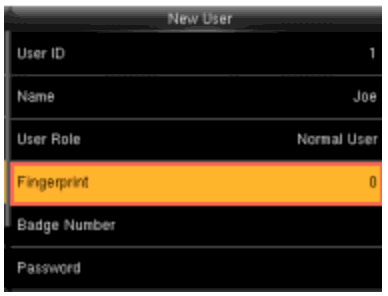
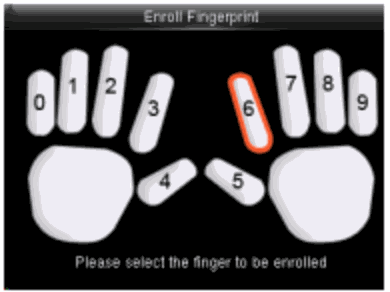
Step 8. With the arrows, choose which finger you wish to enroll and press the OK button
Step 9. Have the employee place the same finger three times on the sensor as prompted.
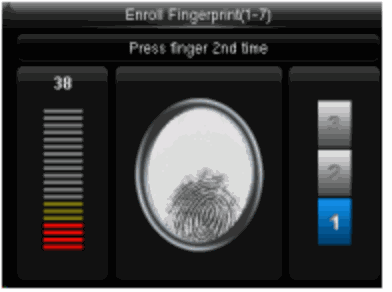
Step 10. The device might ask you to “Please try again” if all 3 registration were not similar. If this does happen, simply repeat the process.
Step 11. If registration was successful, the device will display the hands again, with the enrolled finger showing as green.
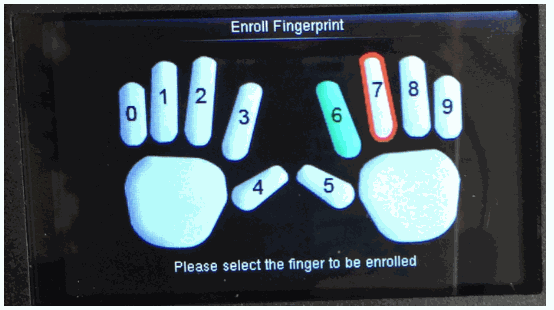
You can continue to enroll another fingerprint for the same employee, by simply following the same steps starting at Step 8.
Once done, press ESC to exit the menu.
There are no comments for now.
to be the first to leave a comment.