Setting up Overtime Rules
Overtime Rules setup
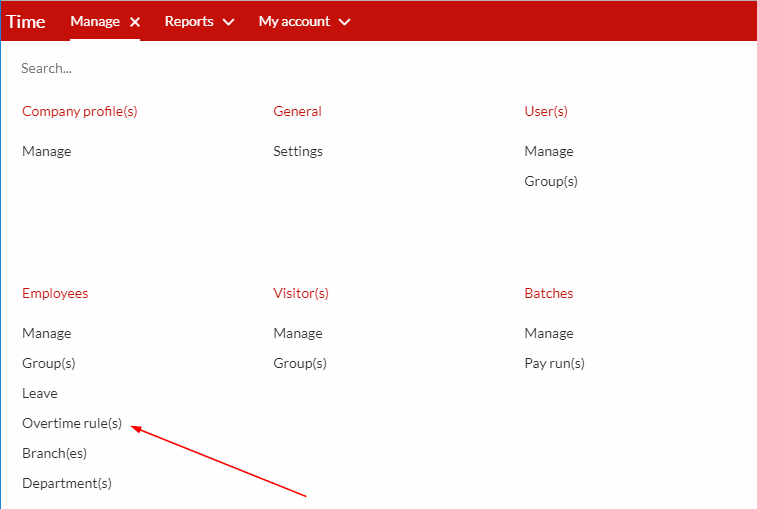
Step 1. Once logged into BC Time, go to Manage and click on Overtime Rules under Employees.
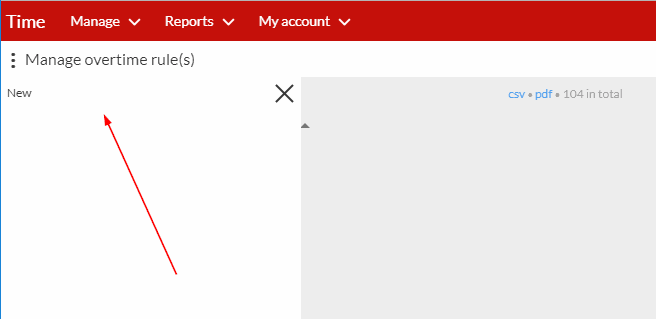
Step 2. Click on the vertical ellipses on the top left corner, as indicated on the screenshot below.

Step 3. As indicated on the two screenshots below, click on the new tab to create a new Overtime Rule, and you will notice the General tab is Orange, which means there is action pending.
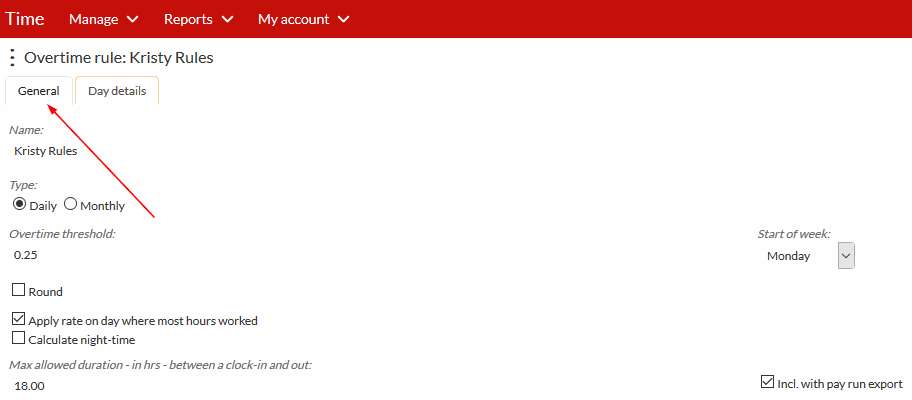
Step 4. To create a new rule, you need to complete the section on the screenshot below and here is a description of each section to be completed:
Name
Give your overtime rule a name to make it easily identifiable
Type
Here you get to choose whether you want the system to calculate the overtime on a Daily basis or on a Period basis.
- Daily - This is when the overtime is calculated on a daily basis, for example if an employee works for 09.00 hours a day they get 01.00 overtime for the day.
- Period - This refers to when the overtime is calculated after a set of given hours, an example of this would be an employee should work a minimum of 40 hours a week and any hours worked more than that is overtime.
Overtime threshold
This indicates the time-period required before overtime is calculated.
If, for example, this is set to 0.25, that means an employee works 15 minutes more than the normal hours for the overtime to be valid.
Round
Here you can choose round hours to the nearest 15 minutes, 30 minutes or 60 minutes based on a minimum period that you choose, for example, you set this at 15 minutes and set your minimum minutes to 10, then the employee clocks out at 17:12, this will then be rounded off to the nearest 15 minutes, 17:15 and if they clock out at 17:09 then this will be rounded down to 0 minutes, 17:00, and if they clock out at 17:18 this will then be rounded off to the nearest 15 minutes, 17:15.
Apply rate on day where most hours worked
This is applicable for hours worked at night. When an employee works from Saturday evening until Sunday morning, if this feature is enabled, then the overtime will be calculated according to the day with the most hours worked. If, for example more hours are worked on the Saturday, then the overtime will be calculated according to the rate setup for Saturday. If more hours are worked on the Sunday, then Sunday will be calculated according to the rate setup for Sundays., if, for example an employee started work at 8PM Saturday all the way through to 5AM Sunday, the employee will be paid on Sunday time because the most hours fell on the Sunday.
Calculate night-time
Here you can choose if the system should calculate night-time, as well as specify during which period night-time is applicable. Night-time is usually calculated at 6% of the employee's’ hourly rate.
Incl. with pay run export
This setting enables exporting all employees linked to this overtime rule to the payroll system. When disabled, the employees’ hours will not be exported to the payroll system.
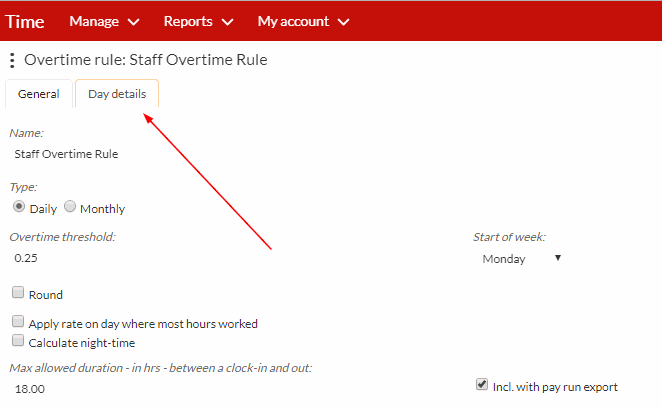
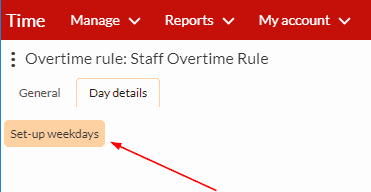
Step 5. After completing the General details of the Overtime Rule, click on the Day details tab as shown below to take to the next step.
Step 6. Click on Set-up weekdays tab that comes up, as indicated below on the screenshot.
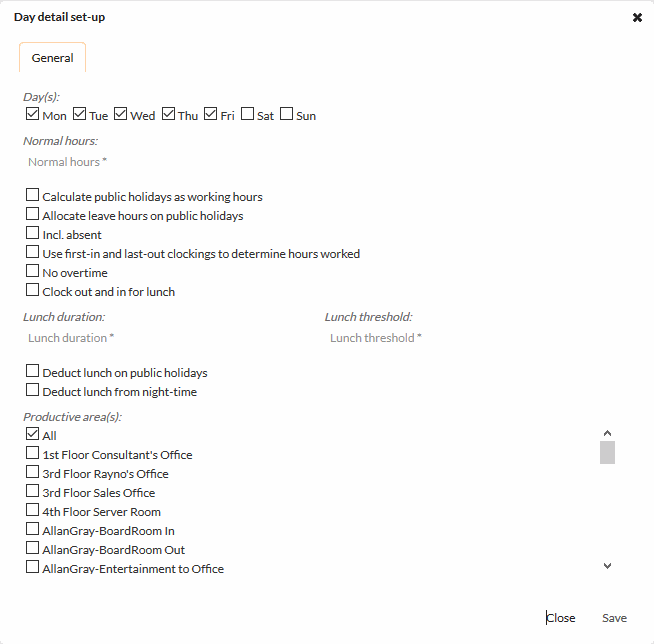
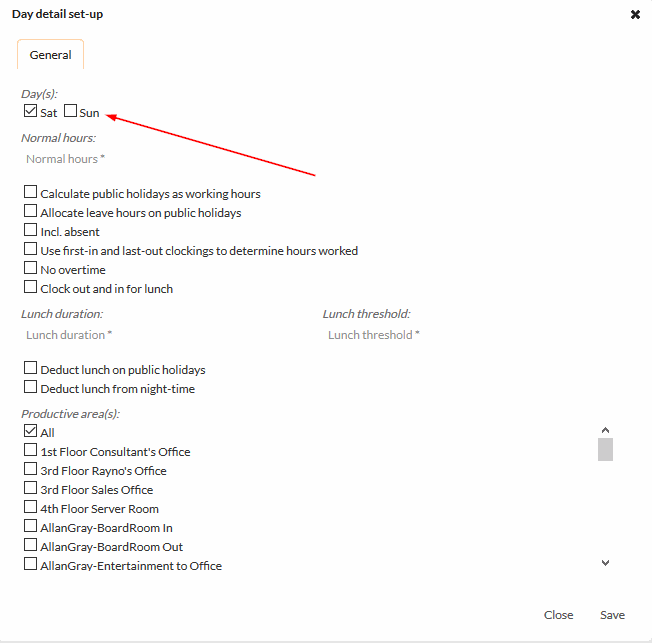
Step 7. Then select the weekdays you want to have the same day detail setup for and tick all the options you would like to have on the selected days and click save.
Days - Here you select the days that the rule should apply, if your employee(s) work Monday to Friday, Saturday and Sunday have to be set up separately.
Normal hours - This refers to the required hours an employee should work per day.
Calculate public holidays as working hours - This allocates normal working hours to an employee when they do not work on a public holiday.
Allocate leave hours on public holidays - If this option is selected, and an employee's leave falls on a public holiday, the system will consider it as a normal leave day and not a public holiday.
Include absent - This is for when an employee(s) does not clock, then the report shows them as absent.
Use first-in and last-out clockings to determine hours worked - If this is ticked it allows you to use the time the employee first clocked in and last clocked out to determined how many hours they have worked.
No overtime - This is for when you don't offer overtime, meaning that employees that work hours more than the normal hours are not compensated for it.
Clock in and out for lunch - This for when you prefer your employee(s) to clock out and in for lunch meaning that their lunch hour is not automatically deducted from the normal hours.
Lunch duration - Here you put in hours how long you wish your employee(s) lunch to be.
Lunch threshold - Here you put in how many hours employee(s) should work before they can take lunch.
Deduct lunch on public holidays - This you select if you wish for the system to deduct lunch hour from normal hours on a public holiday.
Deduct lunch from night time - This is only for employee(s) that work night time and if selected, the system will automatically deduct lunch hour from the employee(s) hours worked.
Productive area(s) - Here you select all the areas that you want as productive, employee(s) are paid according to the time spent in these areas, any time spent outside of the productive area(s) is not paid for.
Once you have selected all the filters you like, click save to go to the next step.
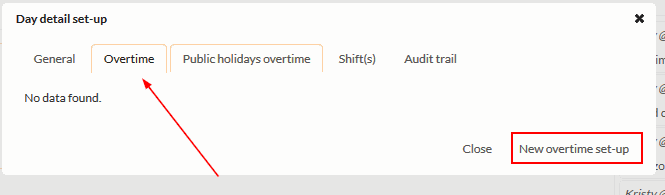
Step 8. Then select the Overtime tab and click on 'New overtime set-up' on the bottom left corner, as shown on the screenshot below.
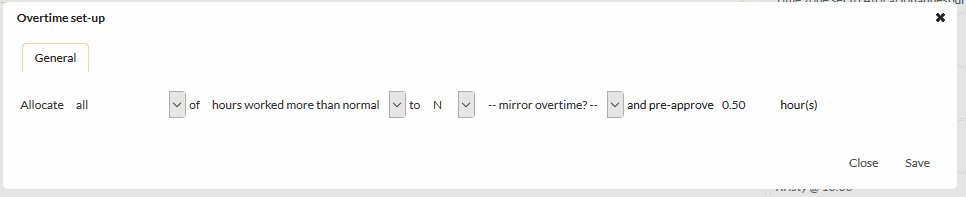
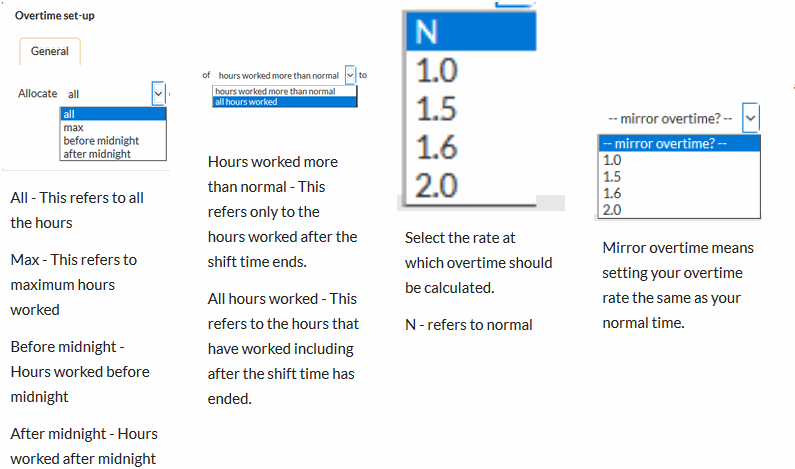
Step 9. Here you get to configure how your Overtime will be calculated, below is all the filters explained in detail. Once done with completing all filters, click save.
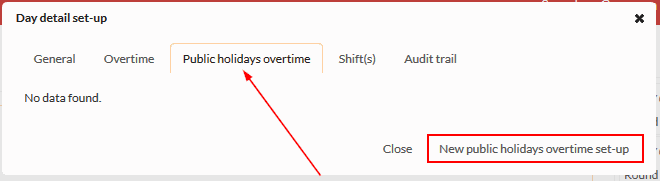
Step 10. Then select the Public holidays overtime tab and click on 'New public holidays overtime set-up' on the bottom left corner, as shown on the screenshot below.
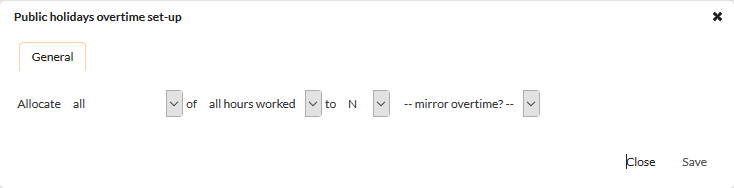
Step 11. Here you get to configure how your Public holidays overtime will be calculated, and just like the Overtime set-up was done, the filters are the same and here you get to select the rate at which you wish to pay your employee(s) Public holidays overtime. Once done with completing all filters, click save.
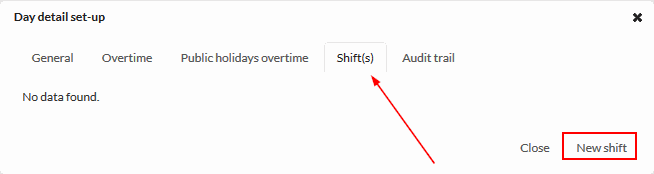
Step 12. Then select the Shift tab and click on 'New shift' on the bottom right corner, as shown on the screenshot below.
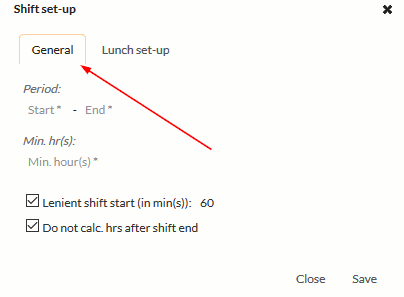
Step 13. Here you get to set up your Shift(s), under the General tab you have:
Period
Here you set up the date period when you want your shift to start and end
Minimum hours
Here you fill in the minimum hours an employee should work on this shift.
Lenient start (in min(s))
This is the number of minutes given, that an employee can clock before the shift starts so that they are added to the shift.
Do not calculate hours after shift end
If this is ticked, the application will not calculate any hours worked after the shift has ended.
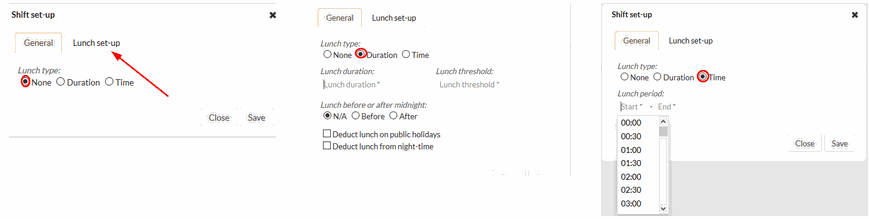
Step 14. Then select the Lunch set-up tab to set how you like to have your lunch calculated.
None
If you select this your employee(s) will have to clock in and out for lunch.
Duration
If you select this, you will need to provide:
- Lunch duration - which is how long you wish your lunch to be
- Lunch threshold - which is how long an employee(s) has to work before they can get lunch
- Lunch before or after midnight - If your employee(s) work night time, here you get to select whether their lunch should be before or after midnight.
- Deduct lunch on public holidays - This you select if you wish for the system to deduct lunch hour from normal hours on a public holiday.
- Deduct lunch from night time - This is only for employee(s) that work night time and if selected, the system will automatically deduct lunch hour from the employee(s) hours worked.
Time
If you select this, you will be required to specify the time you wish the lunch hour to start and end.
Click save once done setting up.
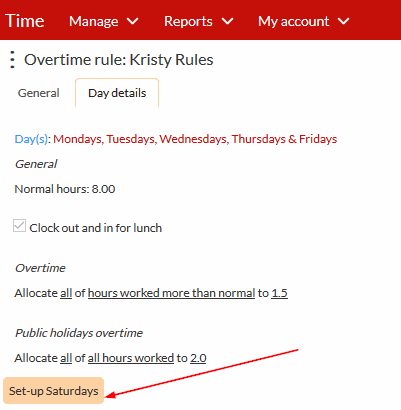
Step 15. Make sure to set-up Saturday and Sunday if they weren't selected when the Week days set-up was done, in other words repeat the process for Saturday and Sunday as you did for the week days.
There are no comments for now.
to be the first to leave a comment.