Creating an extra user in Binary City Time
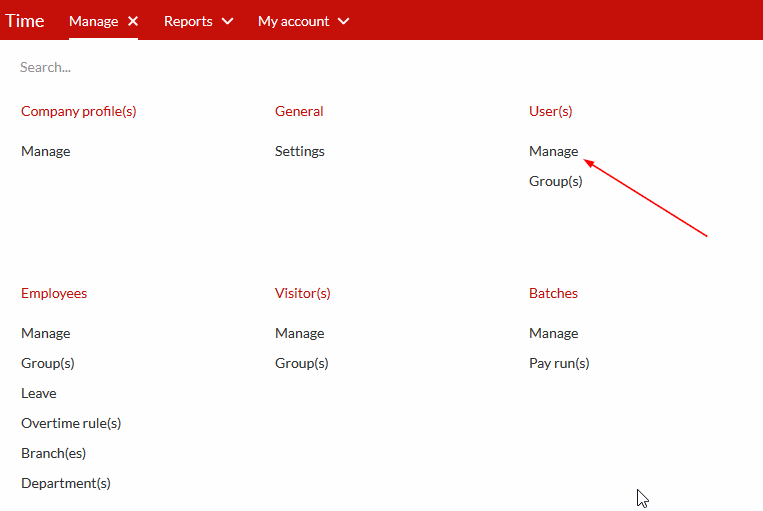
Step 1. Once you logged in to BC Time, click on Manage , then click on Manage under sub heading User(s)
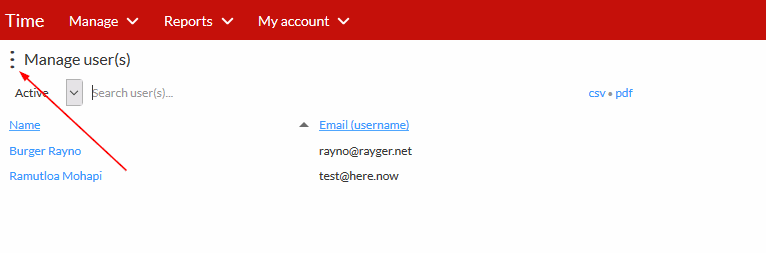
There you will see your existing Users (If any)
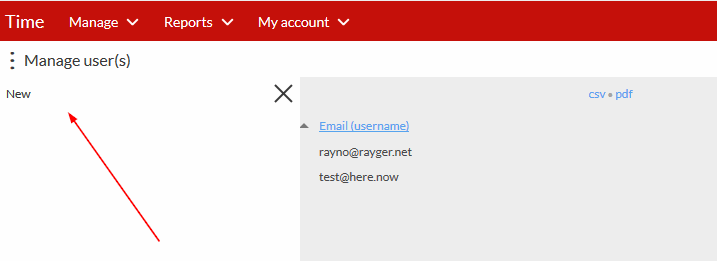
Step 2: Next you click on the vertical ellipses and then click on New on your left side, as shown on the screenshots below.
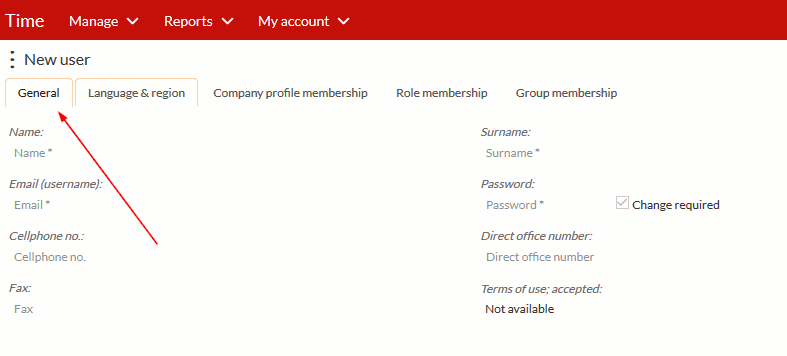
Step 3: Fill in the details of the Person you want to add as a User under the General tab.
Note that all fields marked with an asterisk (*) is compulsory.
Work through all the tabs at the top (General, Language & Region) to ensure that you fill in all the required info. When creating the user, you must assign a temporary password, which the user being created will user on their first sign in.
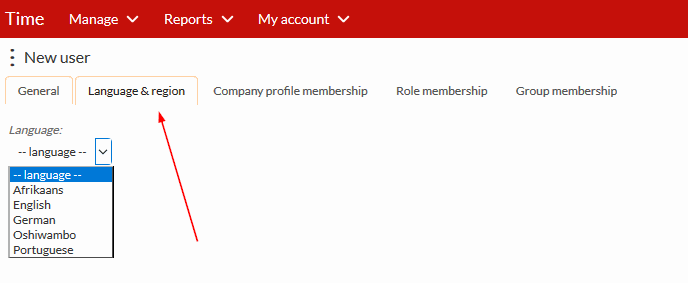
Step 4: Next you click on the Language & region tab, here you select the language in which you wish work in.
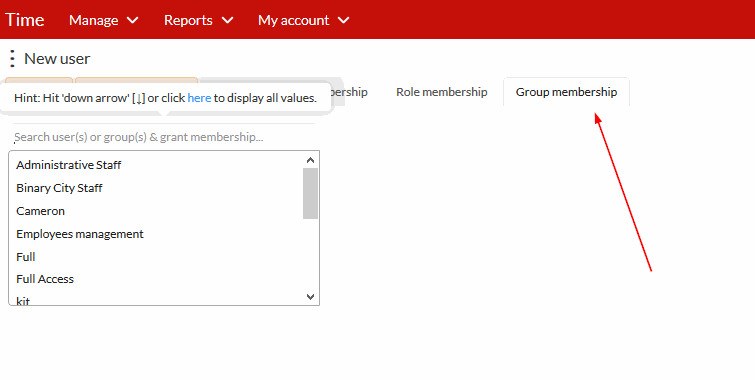
Step 5: The Role membership and Group membership tabs are the most important tabs.
We recommend, that you make use of Groups to assign user roles to the system. It makes for much easier management of access levels in the system. If you make use of groups, you can skip the "role membership" tab and simply add the correct group or groups to the user.
If you give direct access to your users, simply indicate under the "Role membership" tab what access the user should have.
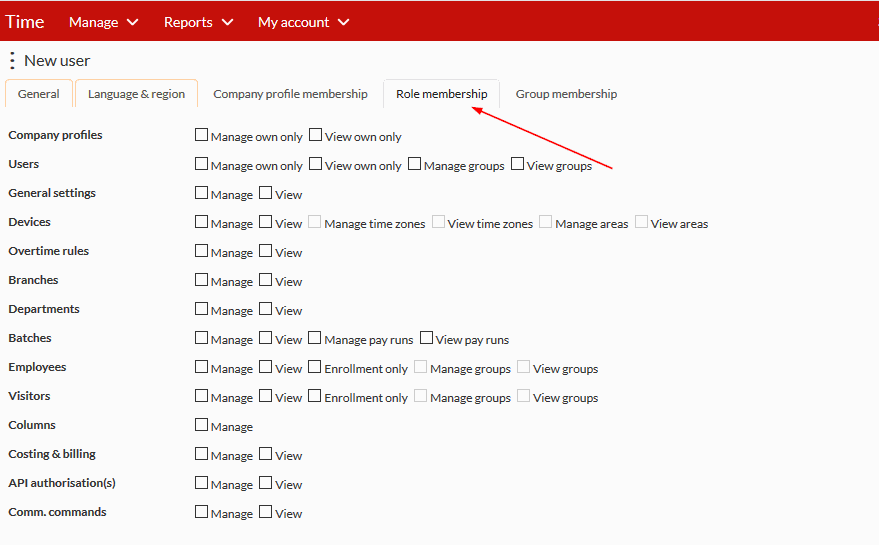
If you want the person to be able to make changes on his/her profile at a certain section you will have to choose Manage at that specific section and if you only want him/her to see what is going on but should not have access to make any changes you will have to choose View only.
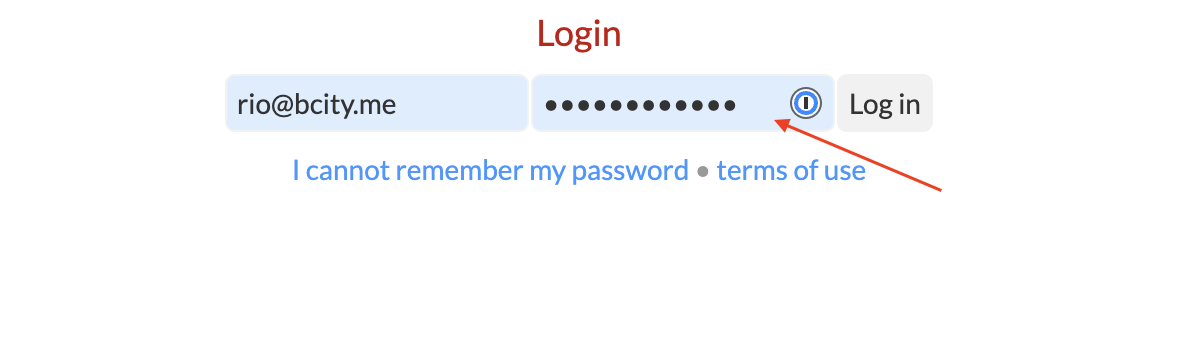
Once you have completed Step 3 above, the person should go to BC Time to log in to their profile using the Email as username and the Temporary Password that the user was created with.
When the user log in the first time, you'll need to provide that "first time login password" to the user. The system would automatically guide the user upon first login, to reset the password to a password not known to you.
Step 6: Login into BC Time (https://time-v2.bcity.me) - the created user must enter their username (email) and temporary password that was created .
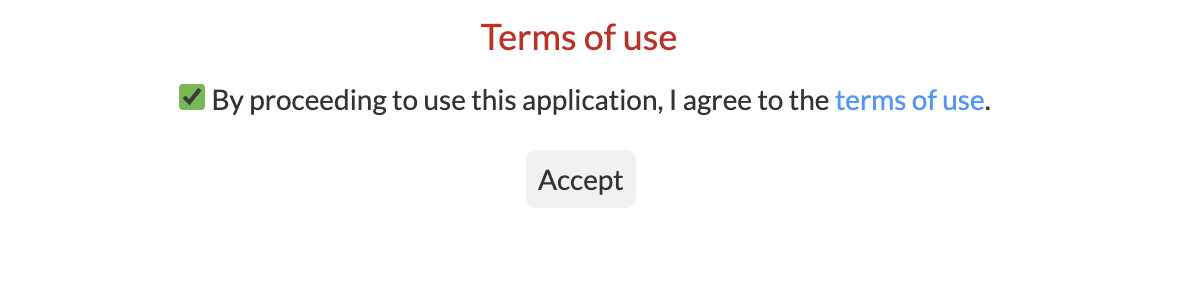
Step 7: Once you've entered you username and password, click "Log in" and the below terms of use window will pop up for the user to accept terms.
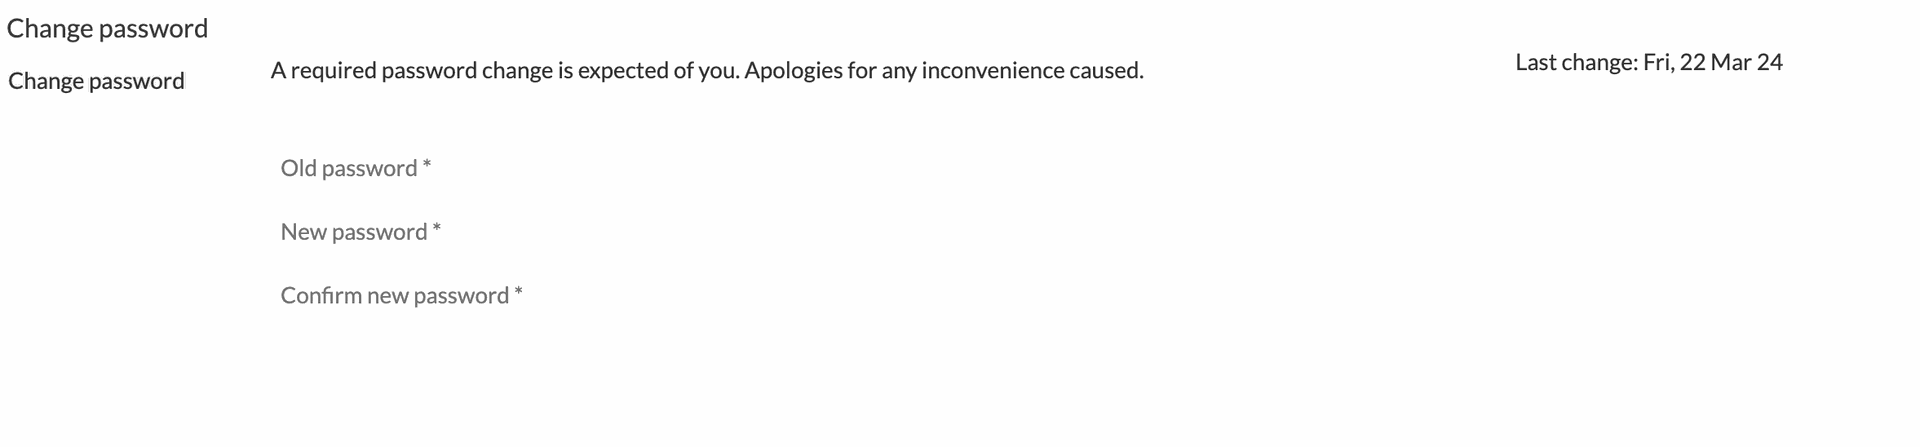
Step 8: After successfully accepting terms, the user will be prompted to enter their old password, enter a new password and confirm the new password. Once confirmed, the user will be logged into BC Time successfully with access to the profile they have been granted membership access.
There are no comments for now.
to be the first to leave a comment.