Binary City Time - Knowledgebase
Enrollment - F17 (Fingerprints)
10 Views •Enrollment - F17 (RFID Card)
5 Views •Enrollment - VF380
3 Views •Fingerprint enrollment on K30 Device
4 Views •Ensuring Time Comm is running
5 Views •Understanding Comm. commands
5 Views •Setting up of device notifications
4 Views •No winter time from 2018, Namibia
4 Views •Pastel Payroll - Batch configuration
8 Views •Resetting my password
4 Views •Generating reports filtered by shift(s)
3 Views •Managing Leave in BC Time
5 Views •Creating an extra user in Binary City Time
4 Views •How to make a User inactive
6 Views •Reopening closed batches
5 Views •Adding a device in BC Time
7 Views •Setting up a device for access control/security
3 Views •Amending Attendance in BC Time
4 Views •Pro-Capture linked with FR-1500 slave
5 Views •RFID Card enrollment
6 Views •Setting up Google Authenticator
16 Views •Enrollment - F17 (Fingerprints)
10 Views •How to change the time format
9 Views •Employee future start / end date
9 Views •Pastel Payroll - Batch configuration
8 Views •Setting up your plans and billing
7 Views •Fingerprint enrollment on IN01-A
7 Views •CSV export updates
7 Views •Adding a device in BC Time
7 Views •How to create departments in BC Time
7 Views •Setting of employment date
7 Views •VIP Payroll export set-up
7 Views •Setting up Overtime Rules
6 Views •How to make a User inactive
6 Views •Make Time Comm depend on MySQL
6 Views •RFID Card enrollment
6 Views •Setting up Scheduled Reporting
6 Views •How to add employee(s) to a group
5 Views •User interface updates
5 Views •How to create a new employee in BC Time
5 Views •
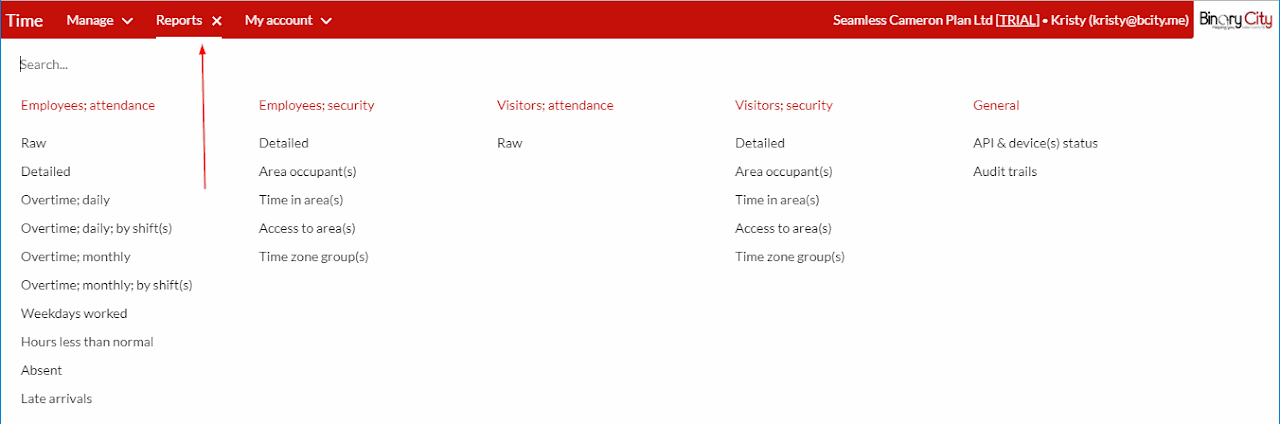
Step 1. Once logged into BC Time, go to Reports and click on the report you wish to keep receiving.
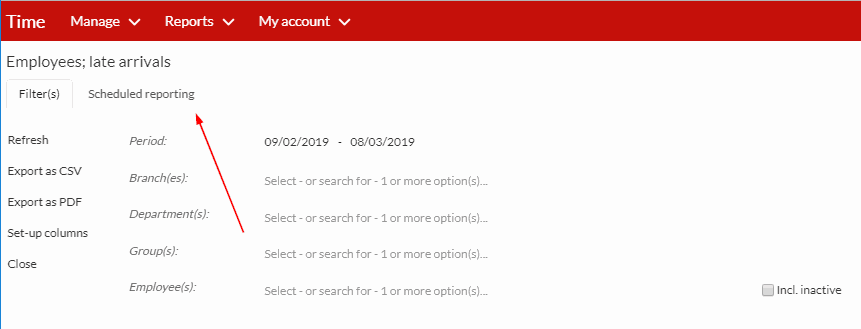
Step 2. After selecting the type of report you want to the scheduled reporting for, click on the Scheduled reporting tab as indicated on the screenshot below.
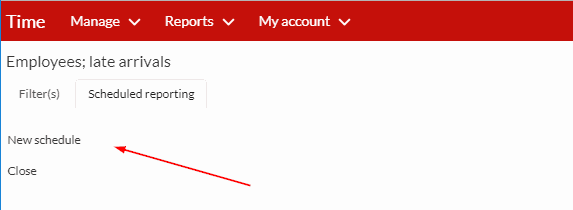
Step 3. Then click on the New schedule tab, as shown on the two screenshots below, you will notice the General tab is Orange which means there is pending information to be completed.
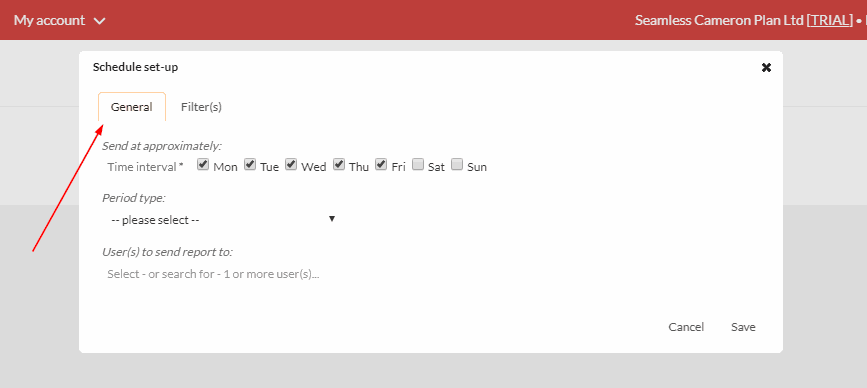
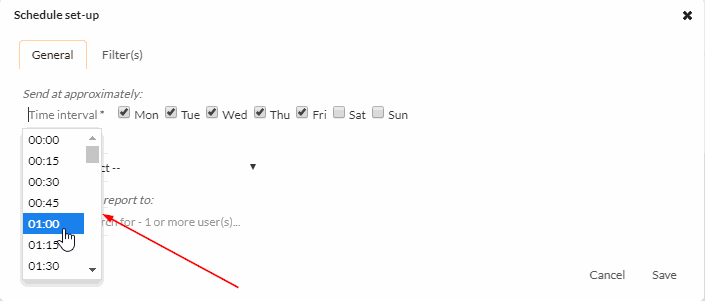
Step 4. Then select the days on which you wish to receive the reports on, and the time of the when you would like to receive the report, you can punch in your preferred time or pick from the drop down.
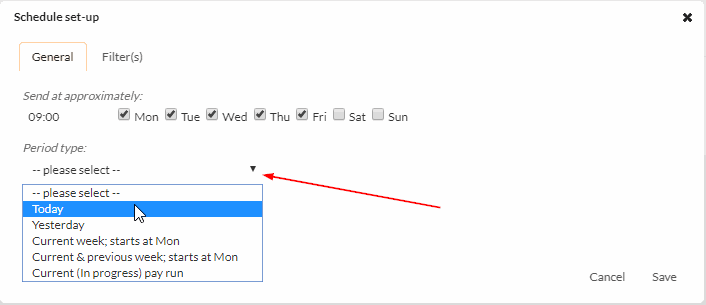
Step 5. Then select the period type of which you would like to receive the scheduled reporting for.
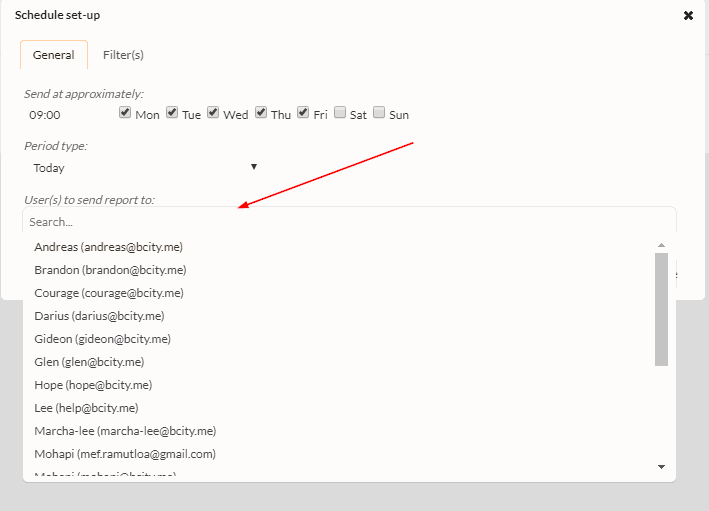
Step 6. Click on User(s) to send report to search and select the user that receive the reports.
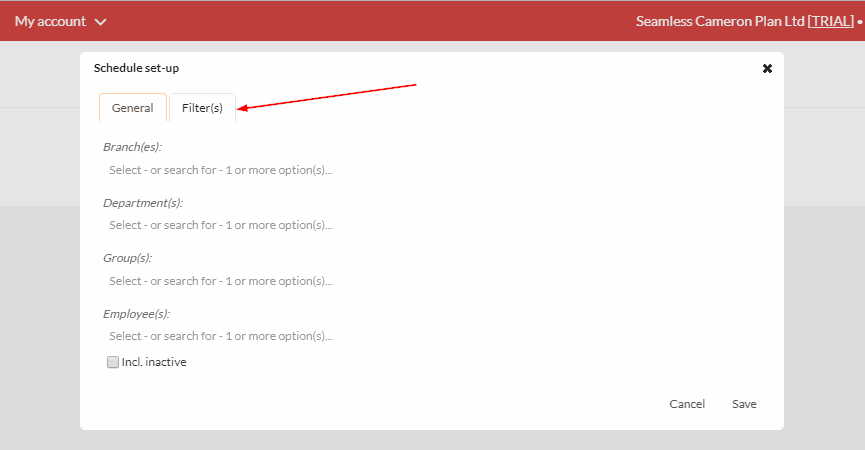
Step 7. Then click on Filter(s), you can then select which Branches, Departments, Groups and Employee(s) whose reports you want to receive and you have the option to include the inactive employees.
Views | |
---|---|
6 | Total Views |
0 | Members Views |
6 | Public Views |
Actions | |
---|---|
0 | Likes |
0 | Dislikes |
0 | Comments |
Share by mail
Please login to share this webpage by email.