Completed
Visitor(s)
Here you can manage people who may visit your office and need access to certain areas, even though they are not employed by your company.
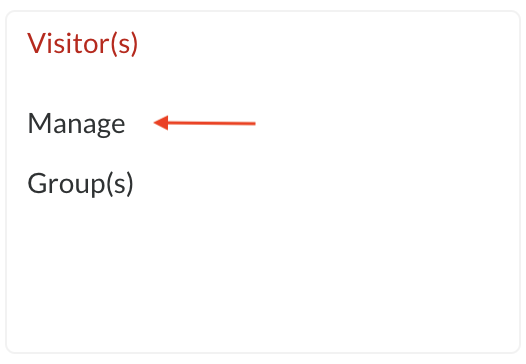
Manage
Step 1: Choose Manage

Notes on Visitor(s) landing page:
- You can filter to view active or inactive visitors
- All branches: You can filter your visitors by the branch that they are allocated to
- Search Visitors: You can search for a specific visitor whose details you which to view
- You can export the list of Visitor(s) in either PDF or CSV format by clicking on the option
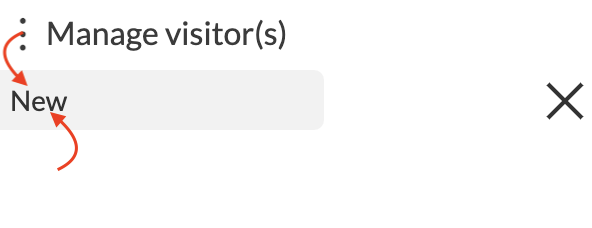
Step 2: Click on the ellipses button (dots) and select New

Step 3: Enter the Visitor's details
Step 4: Enter the device details
| Device ID | API Sets the Visitor's ID on the device(s) |
| Device privilege | Here you can choose if a visitor is an Enroller, Administrator or Common user |
| Password (PIN) | Here you can enter a PIN for the visitor to clock/gain access with |
| Card number | If the visitor is making use of an RFID card or Tag, the number can be entered here |
| Time zone group | Assign the visitor to a time zone |
| Starts | Choose when the visitor's access will start |
| Ends at | Choose when the visitor's access will expire |
Step 5: Link the visitor to a Group
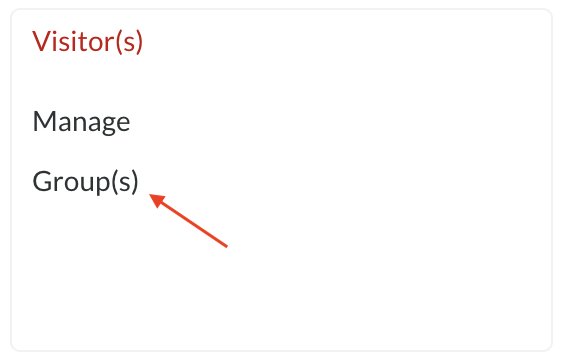
Group(s)
Groups are granted access to different areas when using security, thus visitors are linked to the group, which, in turn, is granted access to a specific area
Step 1: Choose Group(s)

Notes for visitor groups:
- Name: shows you a list of all the group names
- No. of visitor members: Show you the number of people assigned to the group
- You can export the filtered or unfiltered Visitor(s) group entries in either PDF or CSV format by clicking the option
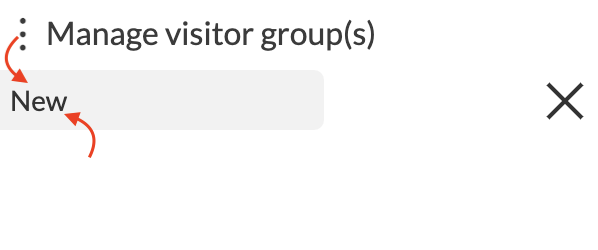
Step 2: Click on ellipses button (dots) and select New

Step 3: Enter a name for your group
Step 4: Click on Members
Here you can search visitors and add the visitors to the group that you created
Step 5: Click on Areas
Here you grant the group access to the areas where visitors should be able to visit
Commenting is not enabled on this course.