Skip to Content

Importing branch(es) into BC Time

BC Time includes an import feature that allows users to upload multiple branches into the system at once. Once imported, branches become available for selection and can be linked to employee profiles.

As branches are required when creating employee records in BC Time, this functionality provides a faster and more efficient alternative when managing a large number of branches. Rather than adding each individually, users can import them in bulk, reducing administrative effort. 

Step 1: Navigate to the branch(es) menu in BC Time.


Step 2: Once in the branch menu, click the meatballs (3 dots ) to access import option.


Step 3: Once you've clicked the "Import" option, the below window will appear, which will allow the user to "download the list of cities" currently available in BC Time as well as download the template that will be populated with the required branches. 

The sheet with the list of cities will download, with the following information which will be used in the template; city ID (primary key), Country, Province, Name, Time zone. 


Step 4: Once you've downloaded the template, use the information in the cities sheet to update the template with your required branch name and ID (PK). The template below shows the unique cities in Namibia with their respective ID's.


Step 5: Download the template as a csv. file as shown in the image below.


Step 6: Upload the downloaded template, by choosing the file from your saved location.


Step 7: Click Upload data, and the system will validate the data in the template and ready it for import once validation is successful. Click "Import now".


Step 8: Upon successful import, all the branches will then be created in BC Time, with their correct name and city.


For clients using Geofencing, the template allows for the population of the Geofence ID(s), to ensure that the created branches are linked to their required geofence area (if applicable). Step 4 above showed that we had the geofence id for Windhoek and Swakopmund on the sheet, thus when the import was done, these two branches had their geofence areas linked. 


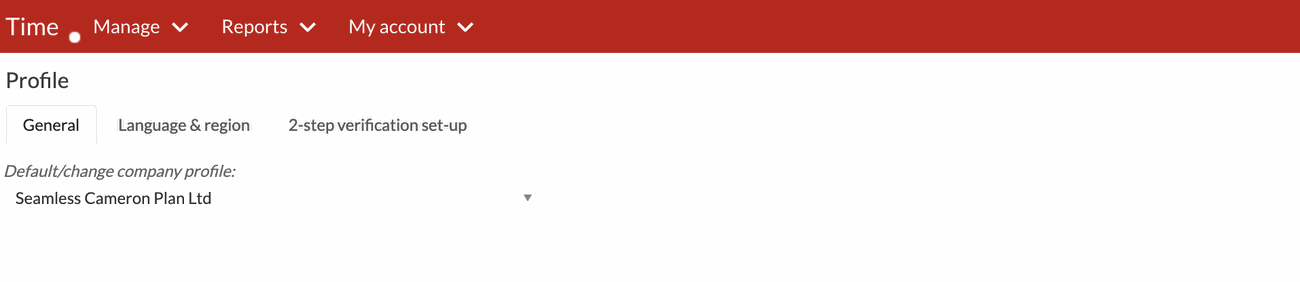
Profile
General

Here you can change your company profile

Language & region

Here you can set up which language you wish to use Binary City Time in.


2-Step verification set-up

You can choose between Google Authenticator or Mail.  If you choose Google Authenticator, you will use an application to generate a login code every time you wish to log in.  More details on this can be found here;

https://www.bcity.me/slides/slide/how-to-set-your-2-step-verification-to-email-42?fullscreen=1

https://www.bcity.me/slides/slide/setting-up-google-authenticator-1?fullscreen=1#

 https://www.bcity.me/slides/slide/using-google-authenticator-ios-and-android-56?fullscreen=1#

If you choose email, a login code will be emailed to you every time you wish to log in.  Please note that if you choose for the system to remember you for 30 days, this will only need to be done once a month.  For security reasons, this option should only be used if you are using a secure machine to access BC Time.
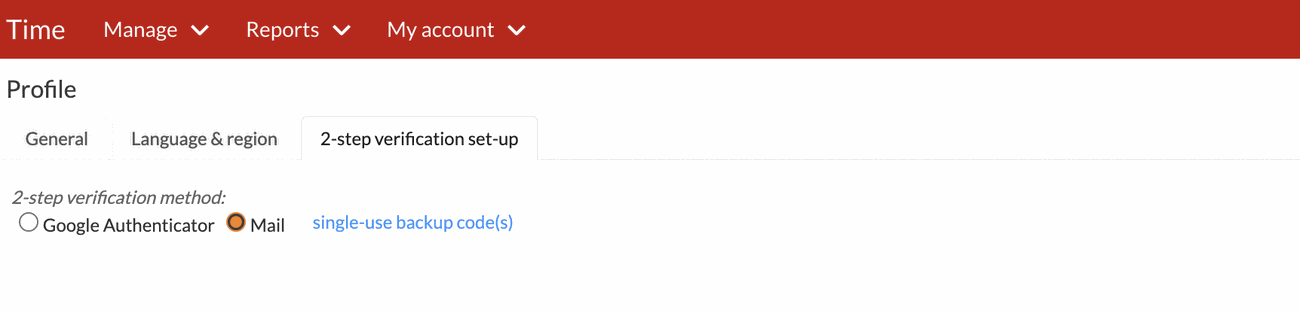

Once you are here, you can select single-use backup code(s) / re-scan/change QR codes:

You can retrieve your own single use backup codes where one struggles with the verification codes which will be either sent to you by email or to use a QR code

Commenting is not enabled on this course.