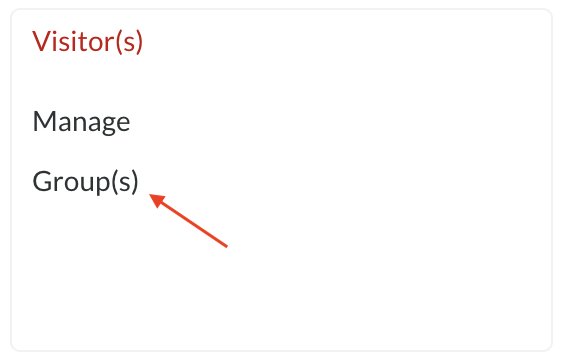
Visitor(s)
Importing branch(es) into BC Time
BC Time includes an import feature that allows users to upload multiple branches into the system at once. Once imported, branches become available for selection and can be linked to employee profiles.
As branches are required when creating employee records in BC Time, this functionality provides a faster and more efficient alternative when managing a large number of branches. Rather than adding each individually, users can import them in bulk, reducing administrative effort.
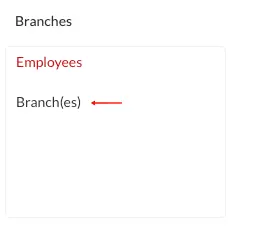
Step 1: Navigate to the branch(es) menu in BC Time.
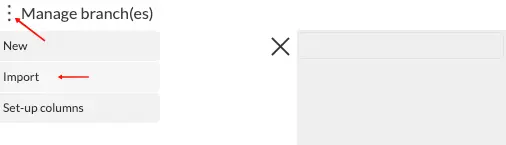
Step 2: Once in the branch menu, click the meatballs (3 dots ) to access import option.
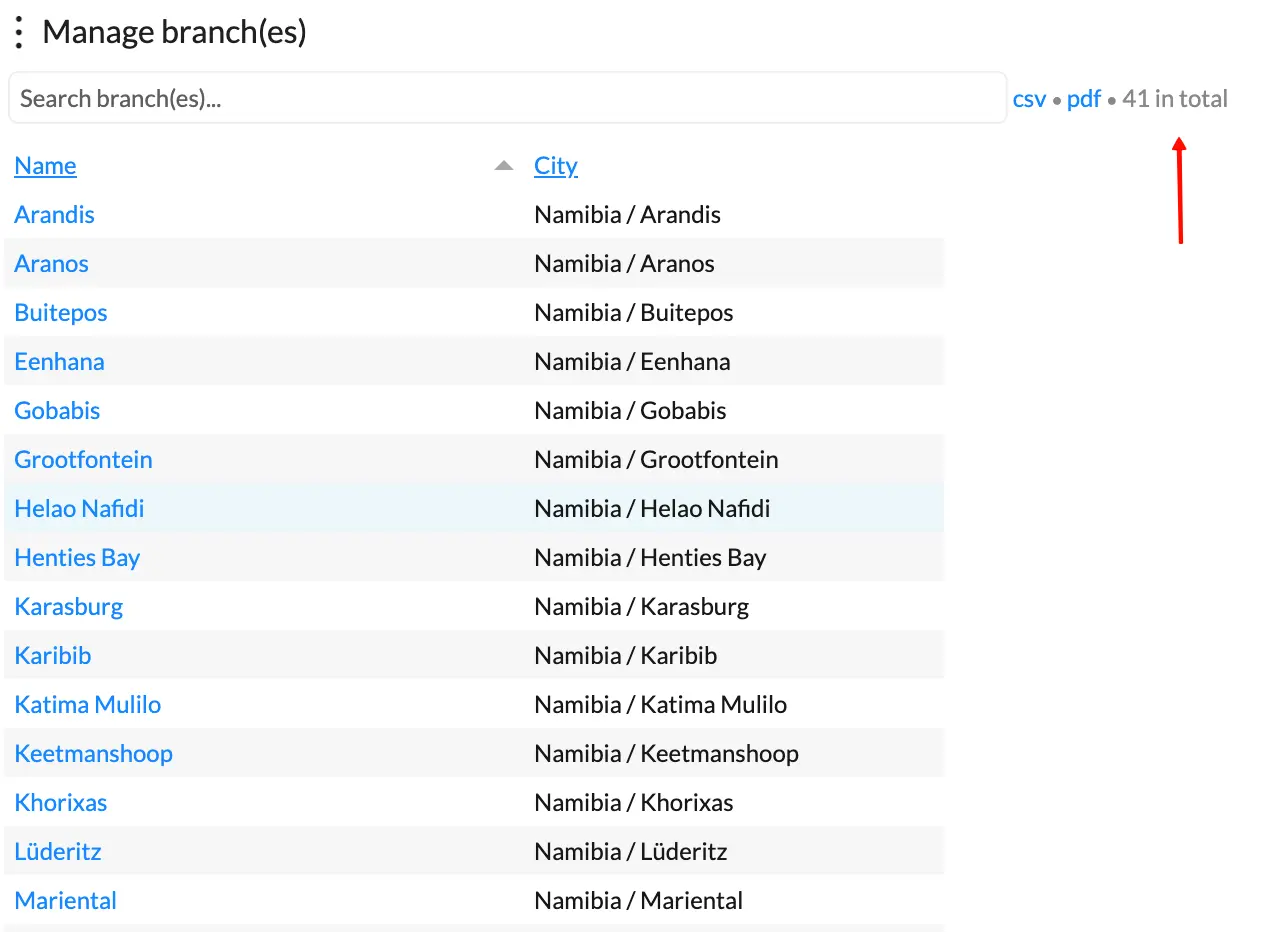
Step 3: Once you've clicked the "Import" option, the below window will appear, which will allow the user to "download the list of cities" currently available in BC Time as well as download the template that will be populated with the required branches.
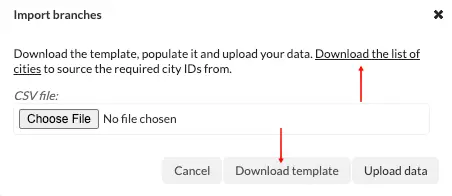
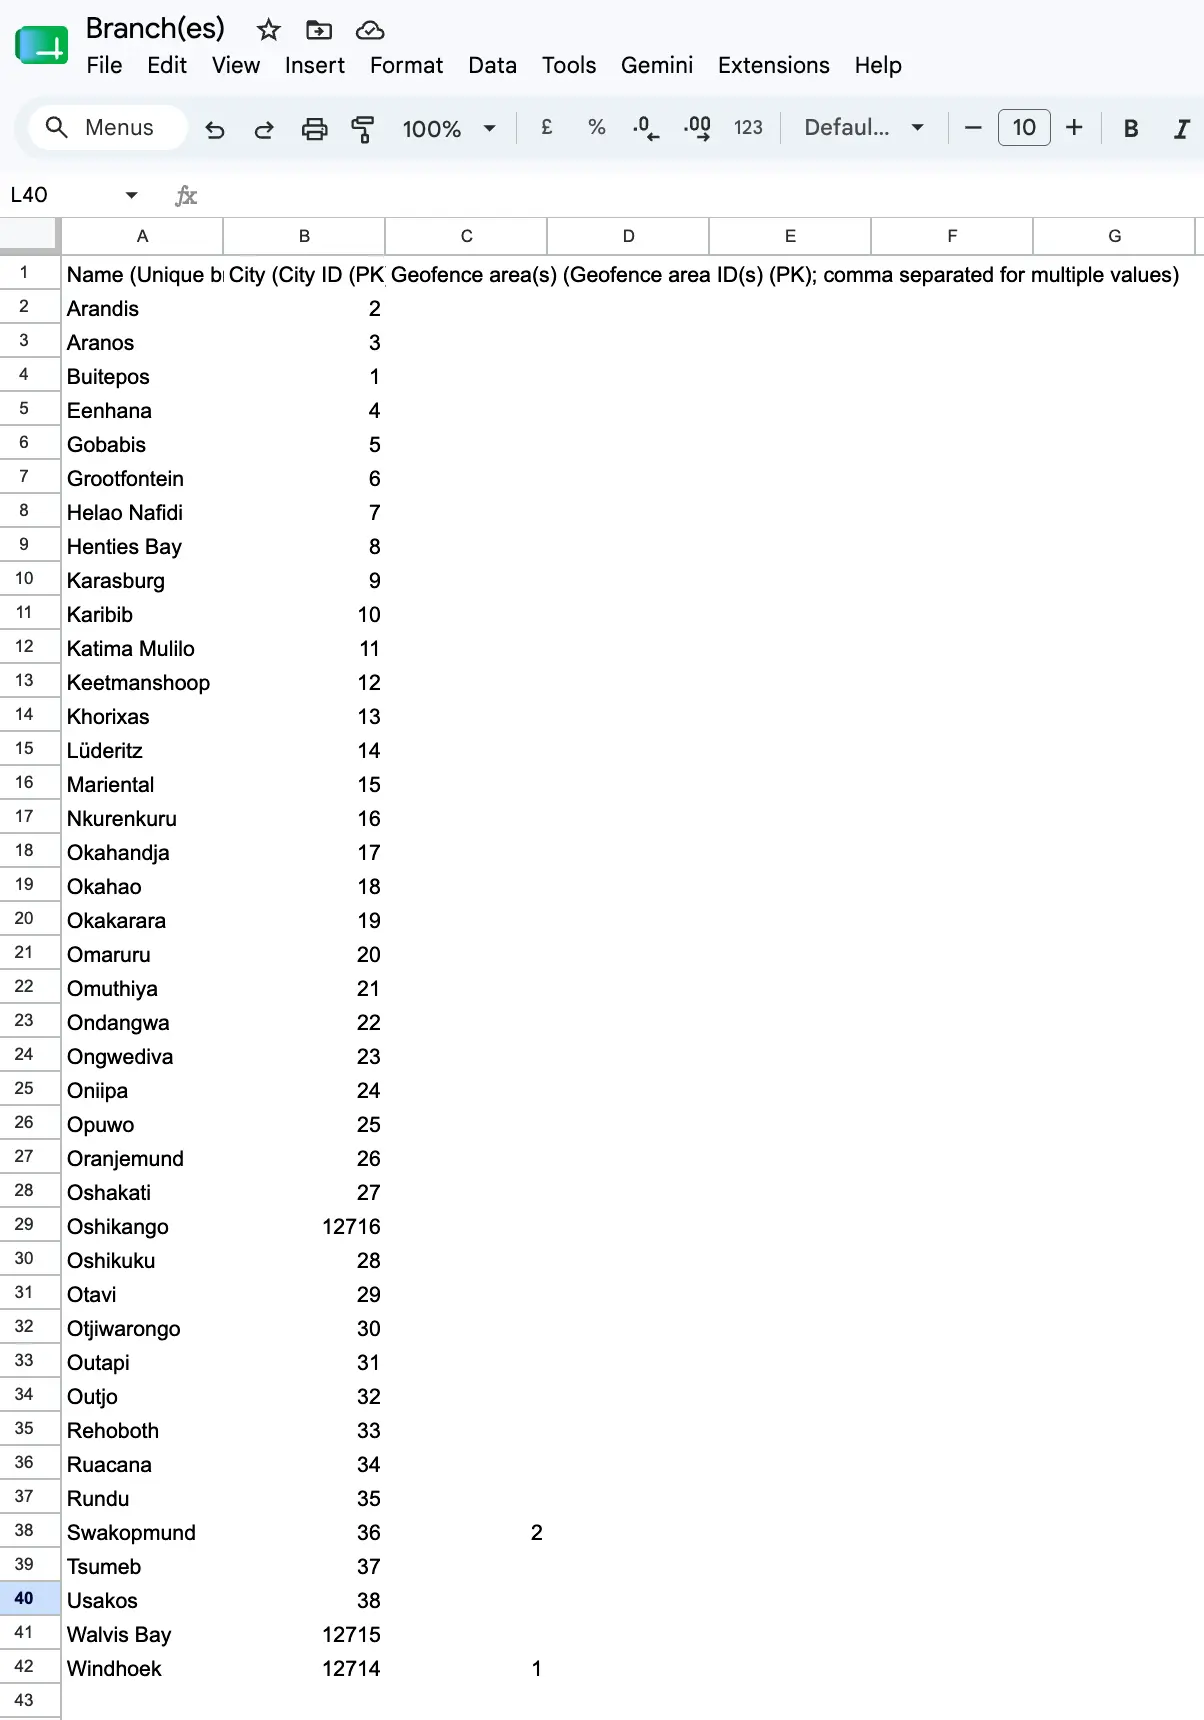
The sheet with the list of cities will download, with the following information which will be used in the template; city ID (primary key), Country, Province, Name, Time zone.
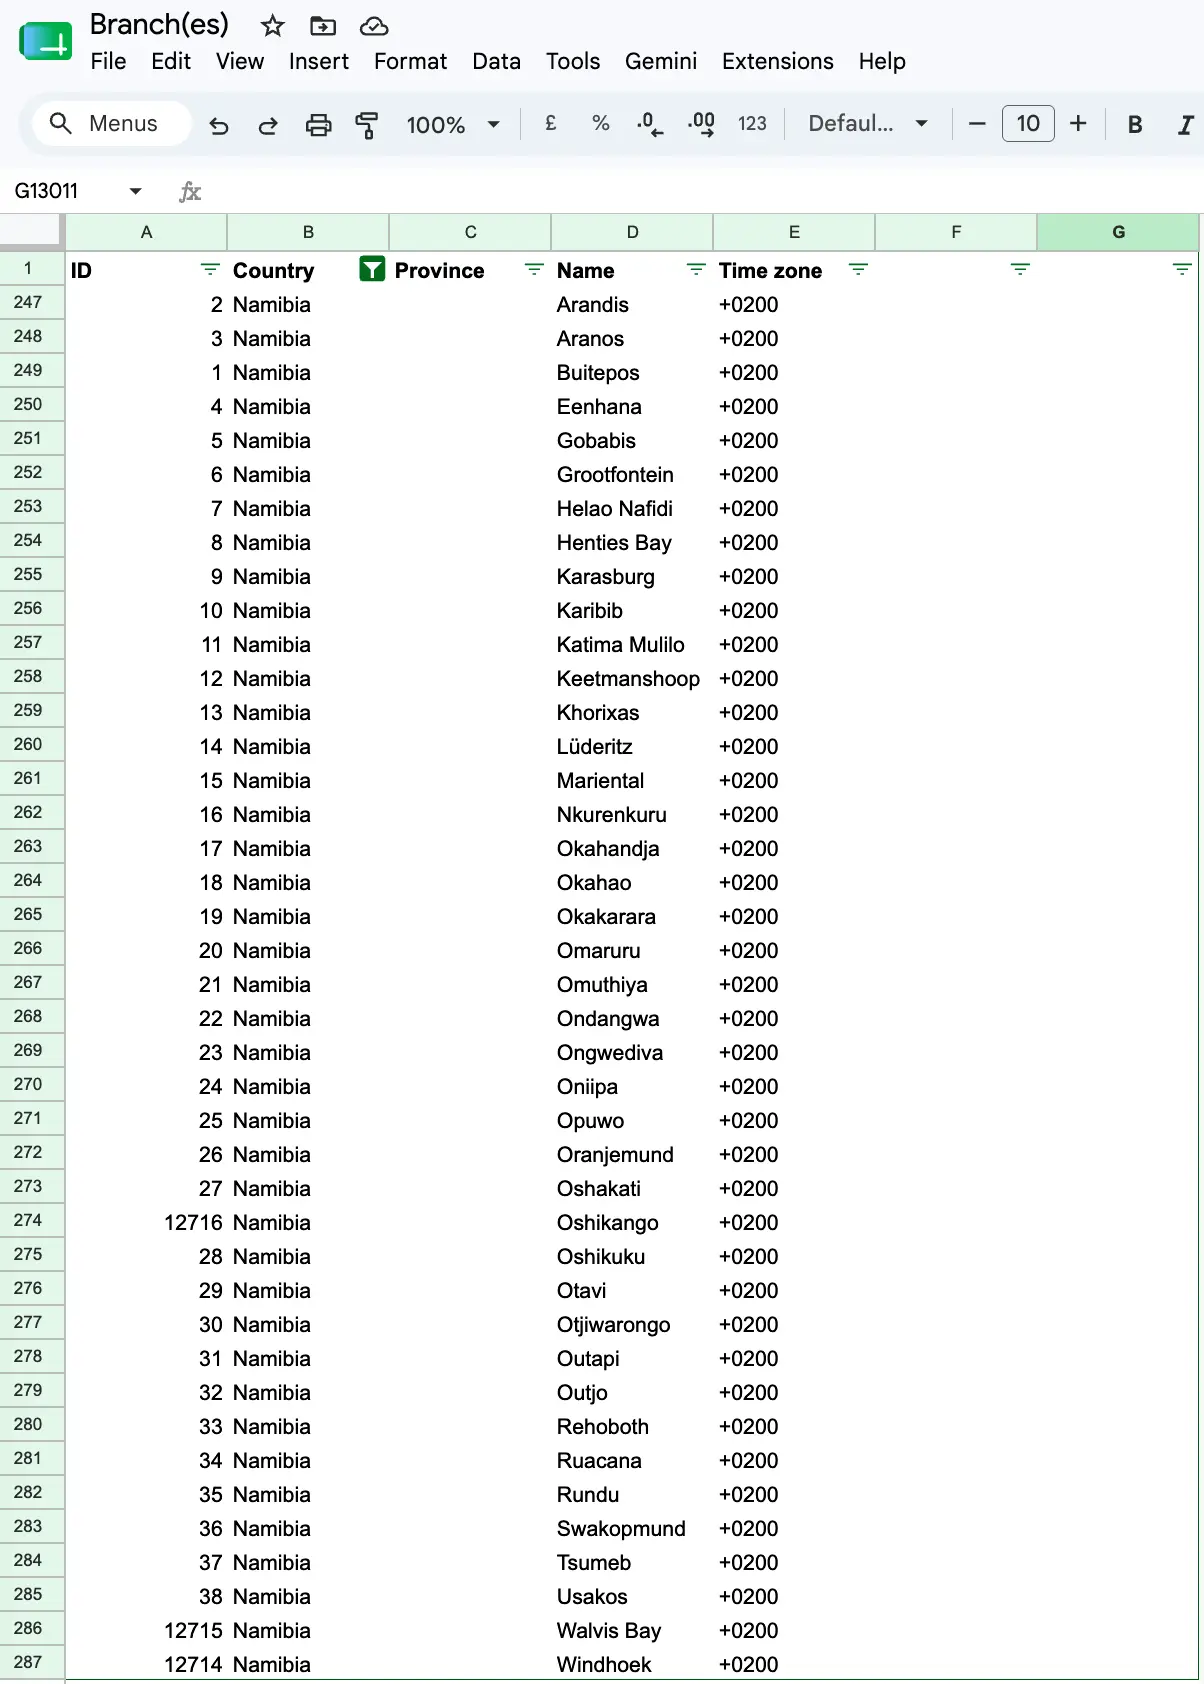
Step 4: Once you've downloaded the template, use the information in the cities sheet to update the template with your required branch name and ID (PK). The template below shows the unique cities in Namibia with their respective ID's.
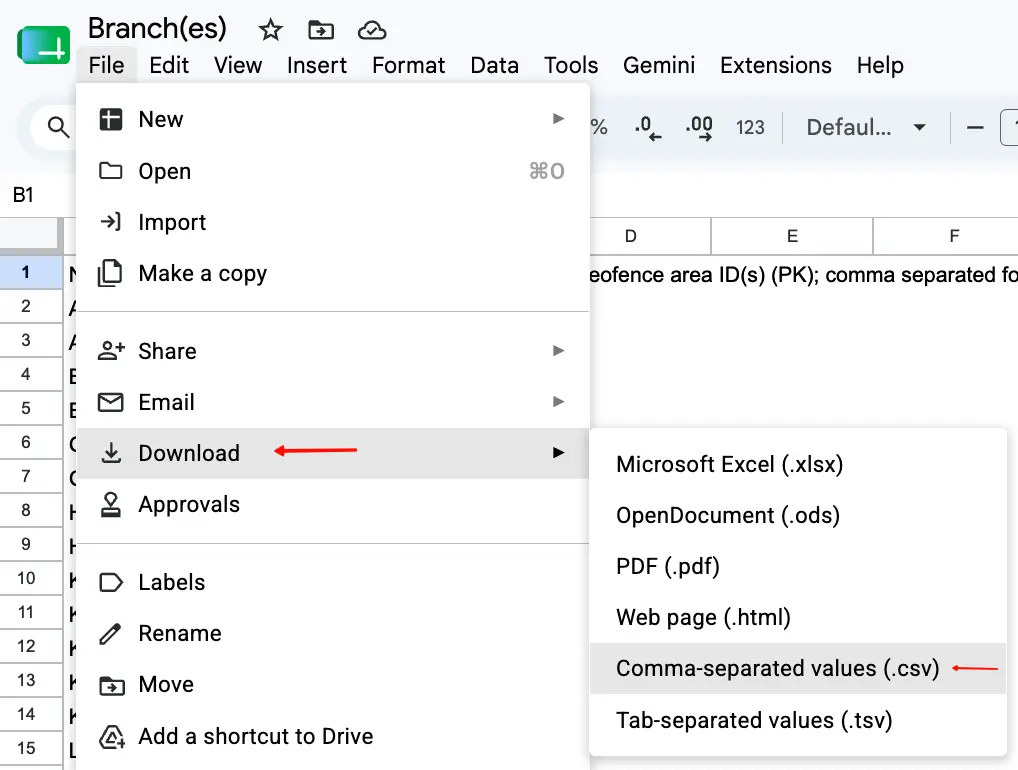
Step 5: Download the template as a csv. file as shown in the image below.
Step 6: Upload the downloaded template, by choosing the file from your saved location.
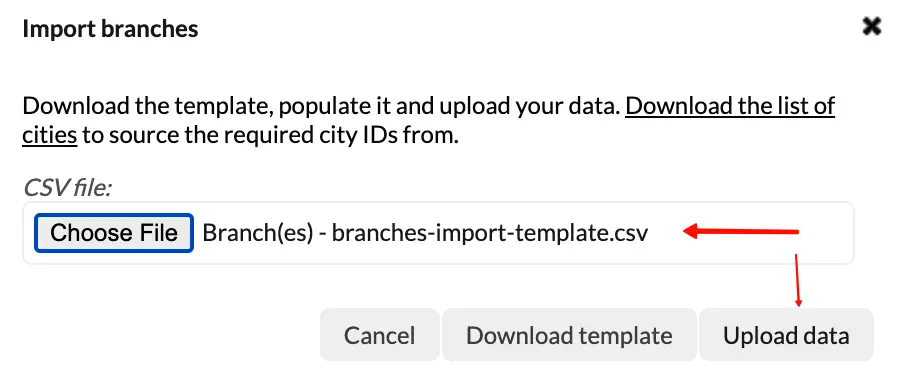
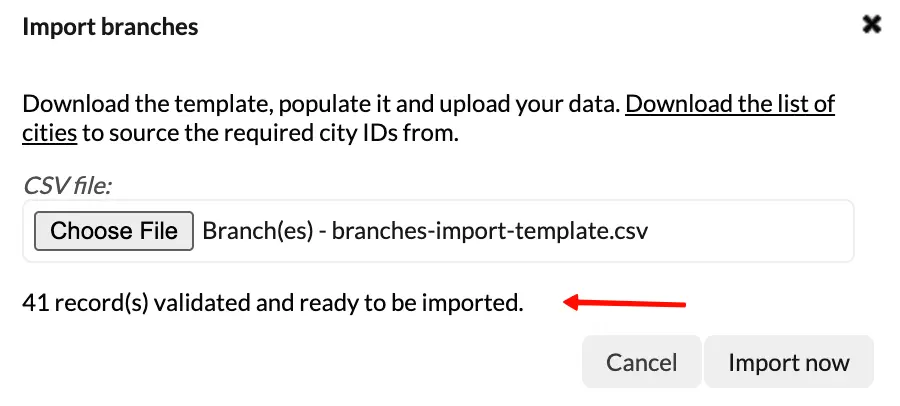
Step 7: Click Upload data, and the system will validate the data in the template and ready it for import once validation is successful. Click "Import now".
Step 8: Upon successful import, all the branches will then be created in BC Time, with their correct name and city.
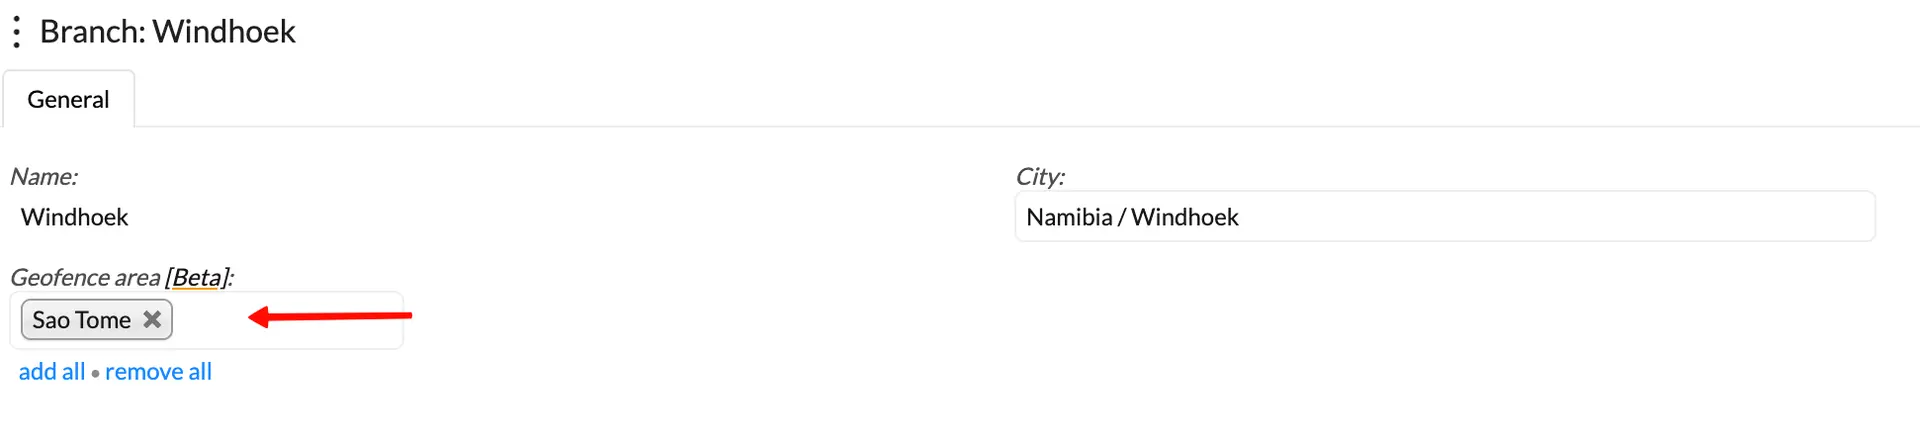
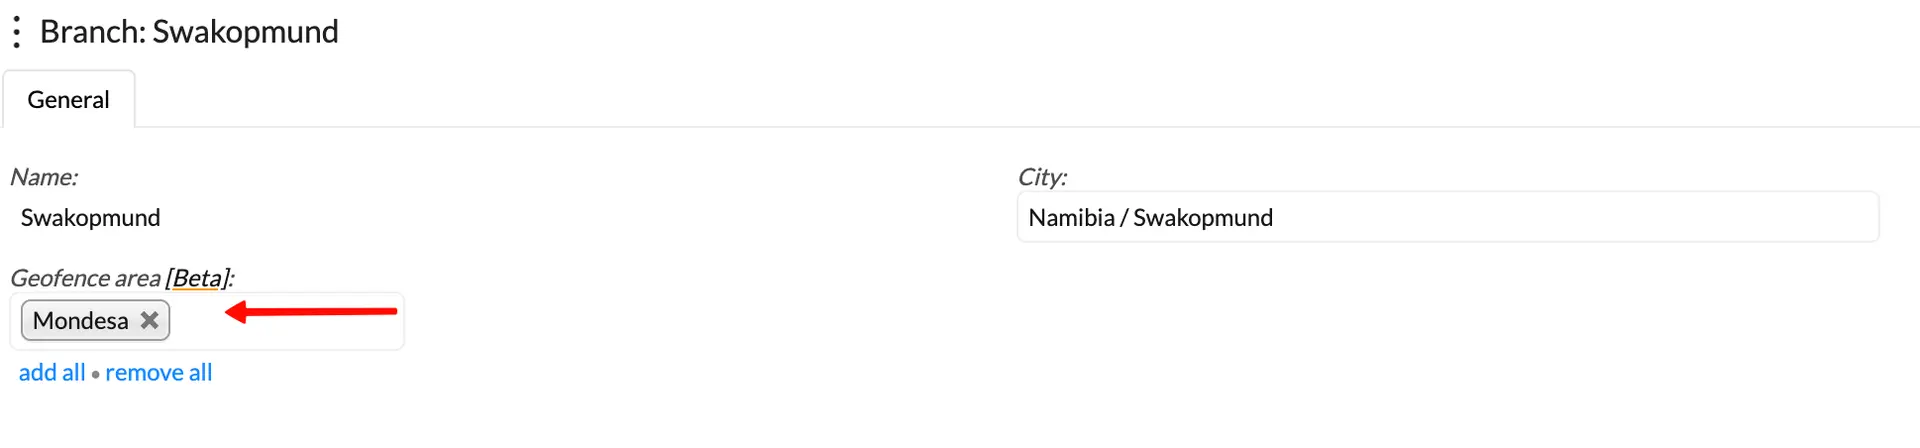
For clients using Geofencing, the template allows for the population of the Geofence ID(s), to ensure that the created branches are linked to their required geofence area (if applicable). Step 4 above showed that we had the geofence id for Windhoek and Swakopmund on the sheet, thus when the import was done, these two branches had their geofence areas linked.

Here you can manage people who may visit your office and need access to certain areas, even though they are not employed by your company.
Manage
Step 1: Choose Manage

Notes on Visitor(s) landing page:
- You can filter to view active or inactive visitors
- All branches: You can filter your visitors by the branch that they are allocated to
- Search Visitors: You can search for a specific visitor whose details you which to view
- You can export the list of Visitor(s) in either PDF or CSV format by clicking on the option
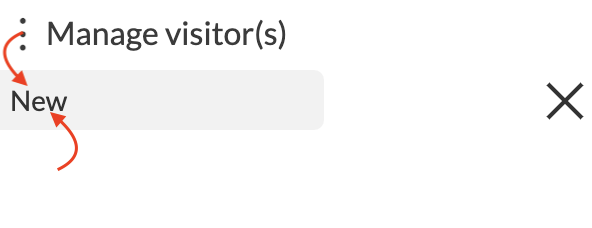
Step 2: Click on the ellipses button (dots) and select New
Step 3: Enter the Visitor's details

Step 4: Enter the device details
| Device ID | API Sets the Visitor's ID on the device(s) |
| Device privilege | Here you can choose if a visitor is an Enroller, Administrator or Common user |
| Password (PIN) | Here you can enter a PIN for the visitor to clock/gain access with |
| Card number | If the visitor is making use of an RFID card or Tag, the number can be entered here |
| Time zone group | Assign the visitor to a time zone |
| Starts | Choose when the visitor's access will start |
| Ends at | Choose when the visitor's access will expire |

Step 5: Link the visitor to a Group

Group(s)
Groups are granted access to different areas when using security, thus visitors are linked to the group, which, in turn, is granted access to a specific area
Step 1: Choose Group(s)
Notes for visitor groups:
- Name: shows you a list of all the group names
- No. of visitor members: Show you the number of people assigned to the group
- You can export the filtered or unfiltered Visitor(s) group entries in either PDF or CSV format by clicking the option
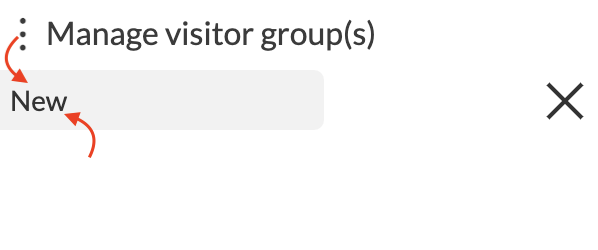
Step 2: Click on ellipses button (dots) and select New
Step 3: Enter a name for your group

Step 4: Click on Members
Here you can search visitors and add the visitors to the group that you created

Step 5: Click on Areas
Here you grant the group access to the areas where visitors should be able to visit

Os comentários não estão permitidos neste curso.