Binary City Time Mobile Attendance
Introduction to mobile attendance
BC Time's Mobile Attendance functionality introduces a modern, flexible approach to employee time tracking by eliminating the dependency on traditional clocking devices. This feature set encompasses two core capabilities: manager-driven clocking and employee self-service clocking. With manager-driven clocking, authorised users — such as managers or supervisors — are granted access to designated groups of employees, organised by branch and department, enabling them to clock employees in or out for their shifts directly from a mobile device.
With employee self-service clocking, employees are empowered to clock themselves in and out independently, either through the Mobile Attendance App or via a mobile browser. Additionally, employees can make use of the Binary City Self-Clocking service on WhatsApp, offering a familiar and convenient channel for recording attendance without requiring any specialised hardware.
This document provides a comprehensive guide to setting up and managing Mobile Attendance within BC Time, covering the experience from the perspective of both the manager or authorised user and the employee, as well as step-by-step instructions for clocking via the Mobile App and the WhatsApp self-service platform.
The BC Time mobile attendance setup begins with the creation of mobile attendance API, setting up the actual mobile device in BC Time and granting access based on the preferred usage, manager or self-service and these steps will be clearly outlined in this document.
Mobile attendance API
The Mobile Attendance API setup authorises the communication between the mobile device and BC Time, establishing a secure and authenticated connection between the two systems. During this setup, sensitive credentials are generated — including a Client ID, Client Secret, and Encryption Key — which together uniquely identify and securely link the mobile attendance application to BC Time, ensuring that all data exchanged between them is protected.
In addition to these credentials, the API setup includes the configuration of API roles automatically on creation, which define and control the level of access granted within BC Time. These roles are assigned to cover three key areas: employees, attendance, and devices, as configured within BC Time, ensuring that the mobile application can interact only with the data and functions it is authorised to access.
Creating the API
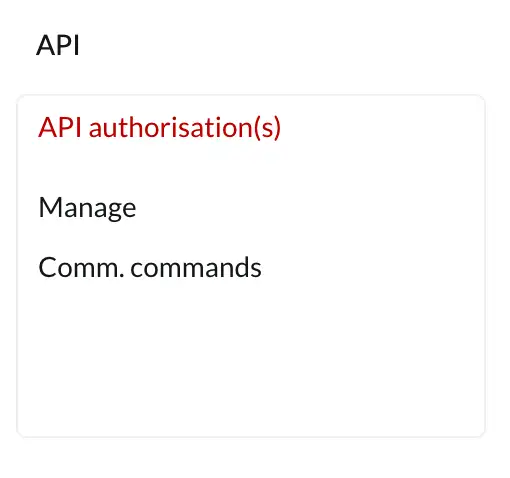
Navigate to the API authorisation section in BC Time as indicated below. Click “Manage” in order to create your new mobile attendance API.
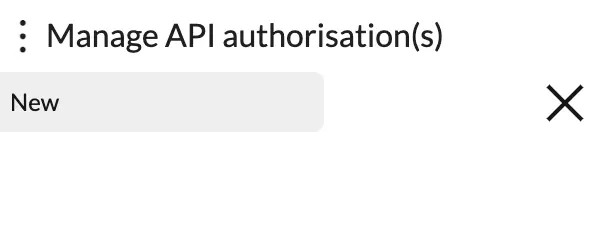
Clicking on the meatballs icon will open up a slide window allowing you to create a “New” API.
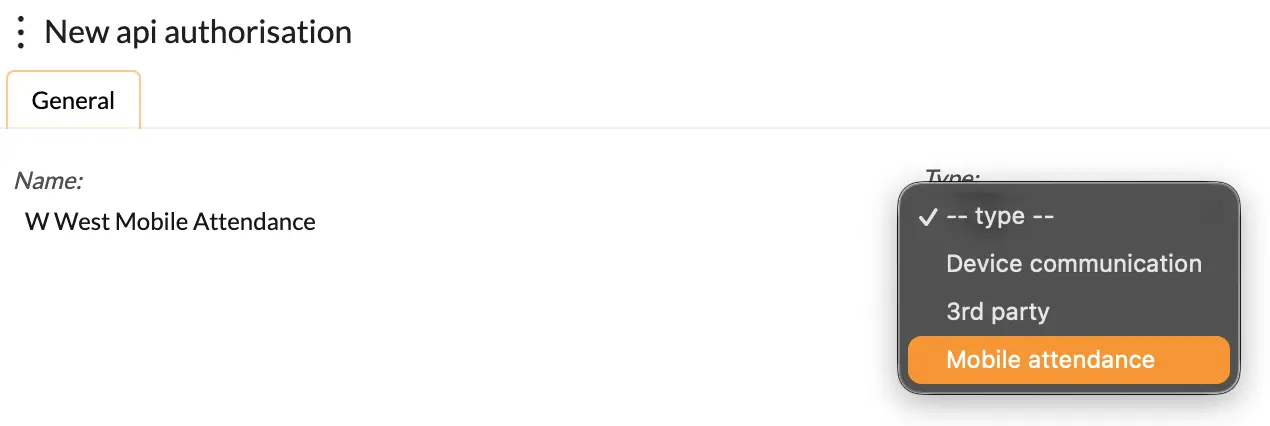
To create a new API, give your API a name and under Type drop down menu select “mobile attendance” and your work here is done.
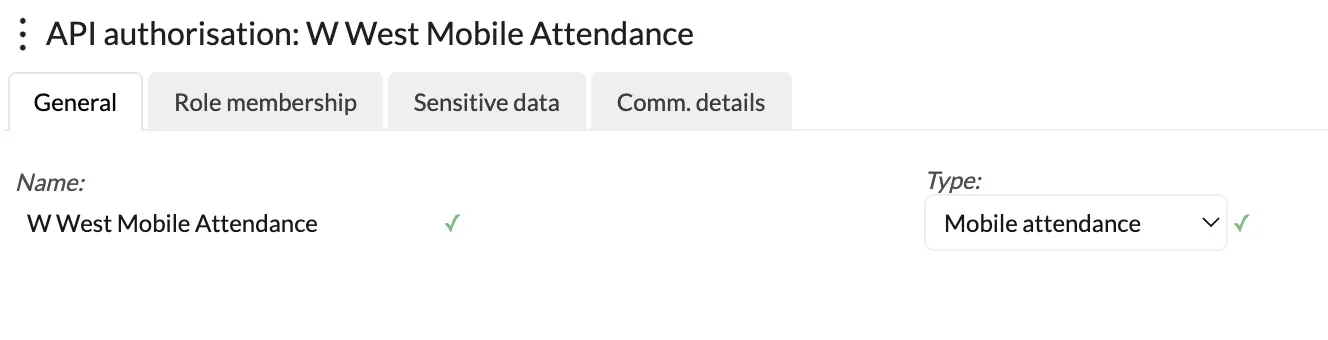
The mobile attendance API will be created with the sensitive data and role membership automatically generated and set.
Mobile Attendance Device
A mobile device enables a user (manager) or employee (self-service) to record attendance directly from their smartphone or tablet or via web access. Depending on the access level configured, the device can be used in two ways: an employee can use it to clock themselves in and out of their shift, while a manager can clock others in and out for their shift.
This manager-level access is linked to the relevant branch and department as configured in BC Time, ensuring that access to employees is granted based on the authorised branch or department.
Creating a mobile device
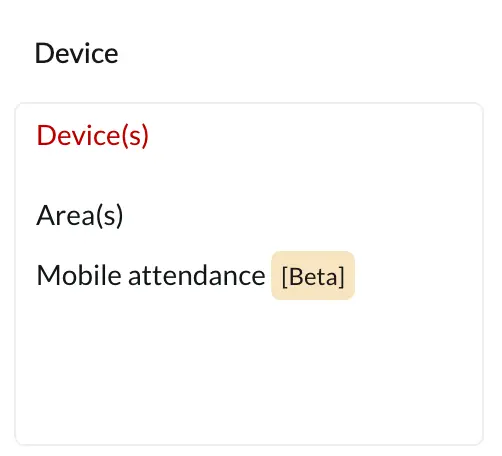
Navigate to the Device section in BC Time as indicated below. Click “Mobile attendance” in order to create your new mobile device.
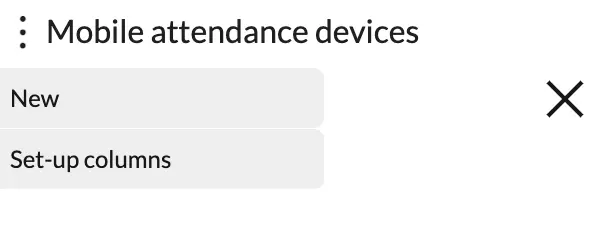
Clicking on the meatballs icon will open up a slide window allowing you to create a “New” Device.
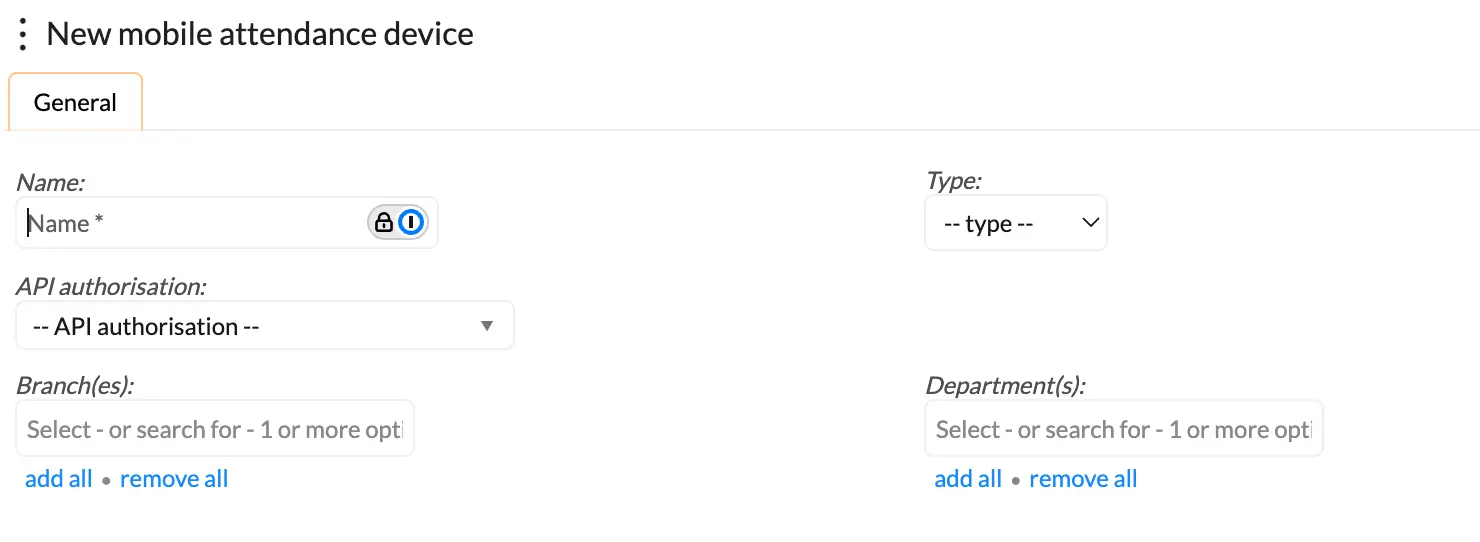
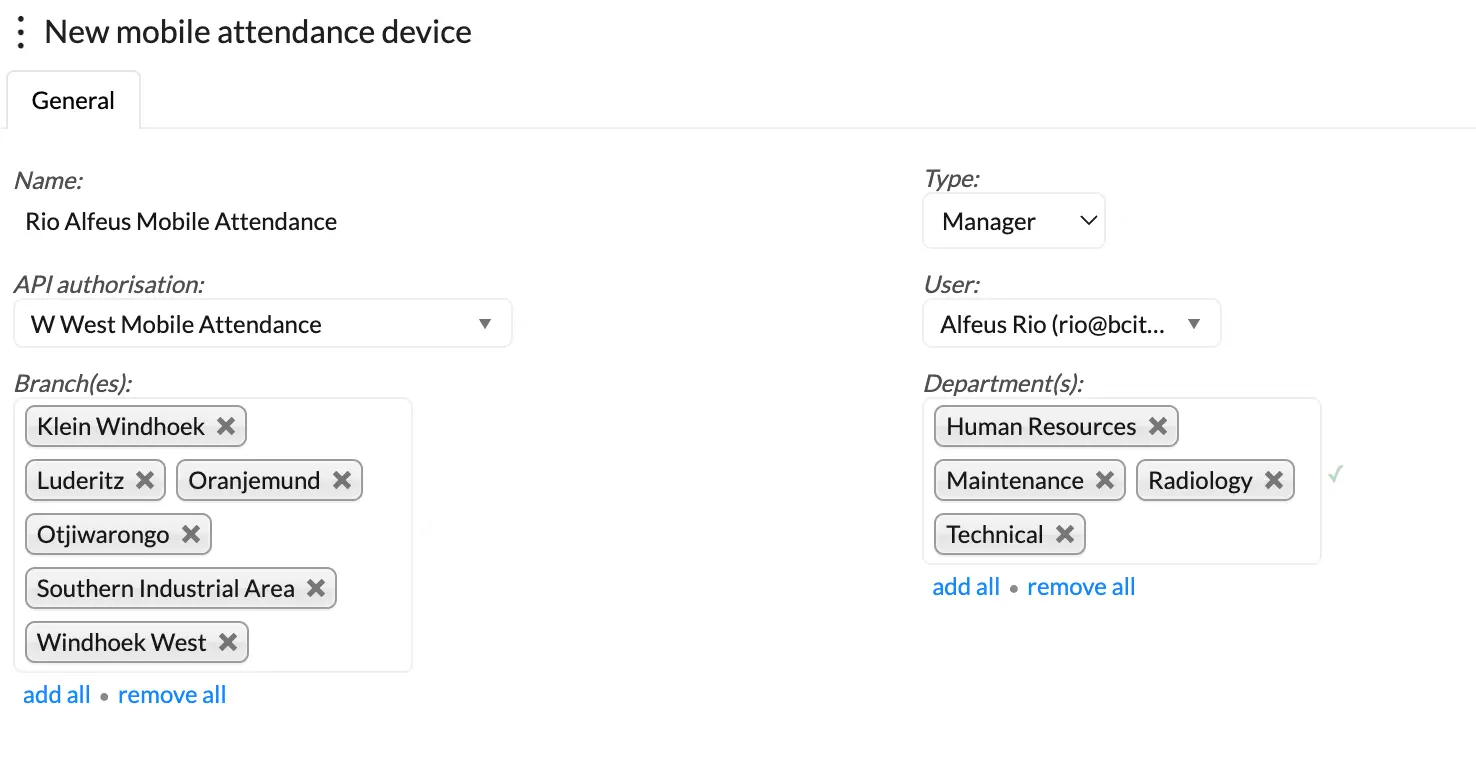
The below window will appear where you will be able to create a new device. You will be required to give your device a name. Select the device type, either; Manager or Self service depending on how the device will be used.

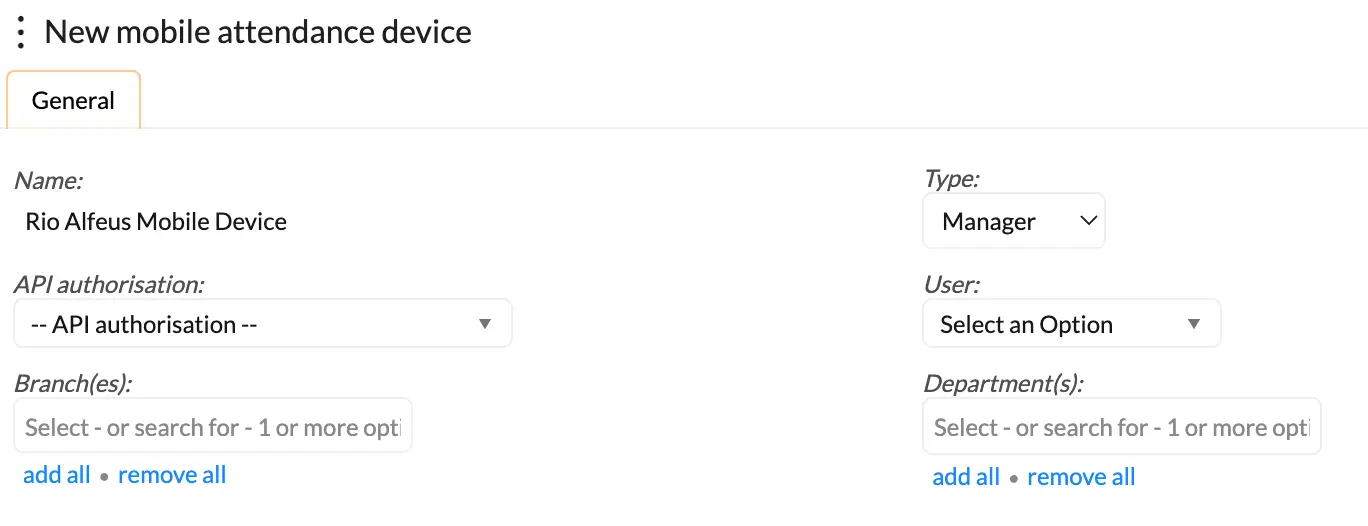
Note that the “User:” field will only appear once the “Manager” type option is selected and you must ensure one setup that the user has been granted access to the BC Time profile on which the setup is being done. You will be required to link the API initially created, as well as adding the Branch(es) and Department(s) that this assigned user will manage.
Once all the fields have been filled and satisfied, the device will be created and green ticks will be displayed, confirming successful setup of the mobile device.
Geofence areas
Branches created for mobile attendance can be linked to a designated geofence area, enabling location-based clock-in and clock-out restrictions for employees.
Once a branch is linked to a geofence, employees assigned to that branch will only be able to record their attendance when they are physically present within the defined geofence radius. This ensures that clock-in and clock-out actions are accurately tied to the correct physical location, preventing attendance entries from being submitted outside of the approved area.
In BC Time, employees are linked to a branch, and if that branch has been configured with geofencing, the system will automatically enforce location verification before allowing any clocking activity. Employees attempting to clock in or out outside of the permitted geofence boundary will be restricted from doing so until they are within the allowed radius.
Setting up geofenced areas
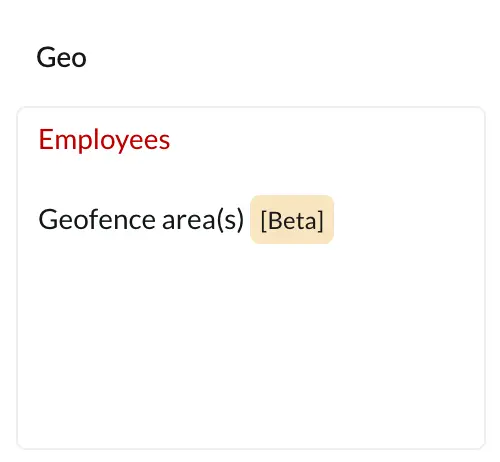
Navigate to the Geofence areas(s) section in BC Time as indicated below.
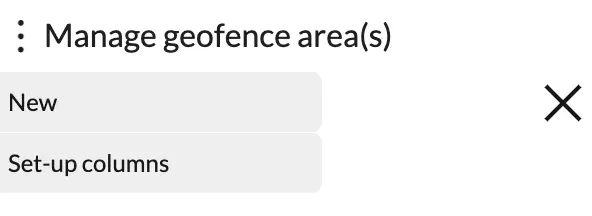
Clicking on the meatballs icon will open up a slide window allowing you to create a “New” geofence area.
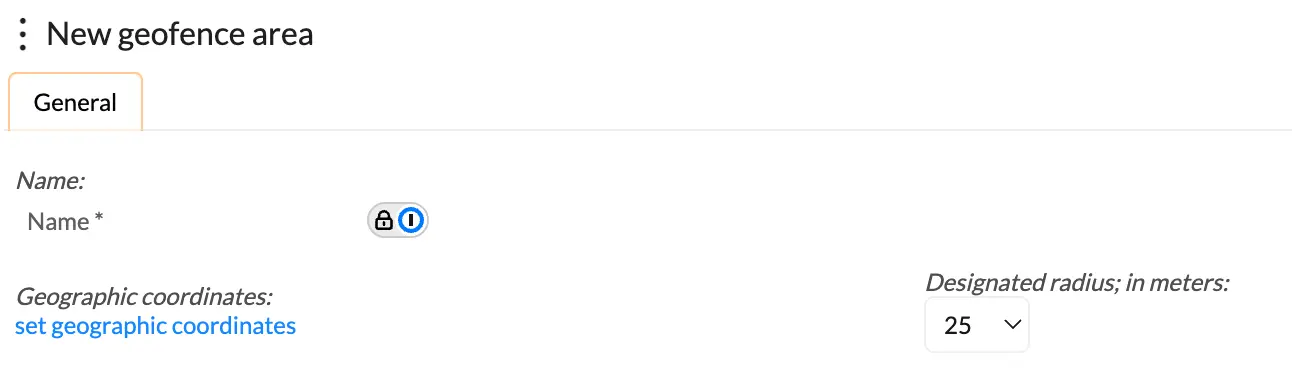
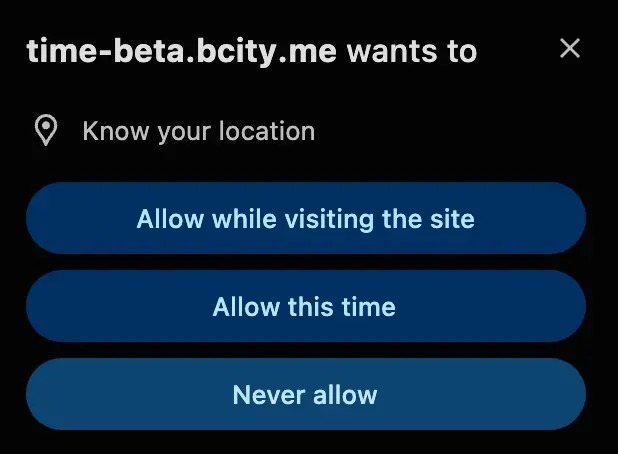
You will be required to give your area a name, set geographic coordinates and define your designated radius. If location access is not already permitted, you will be prompted to grant BC Time access to location when setting up geofencing.
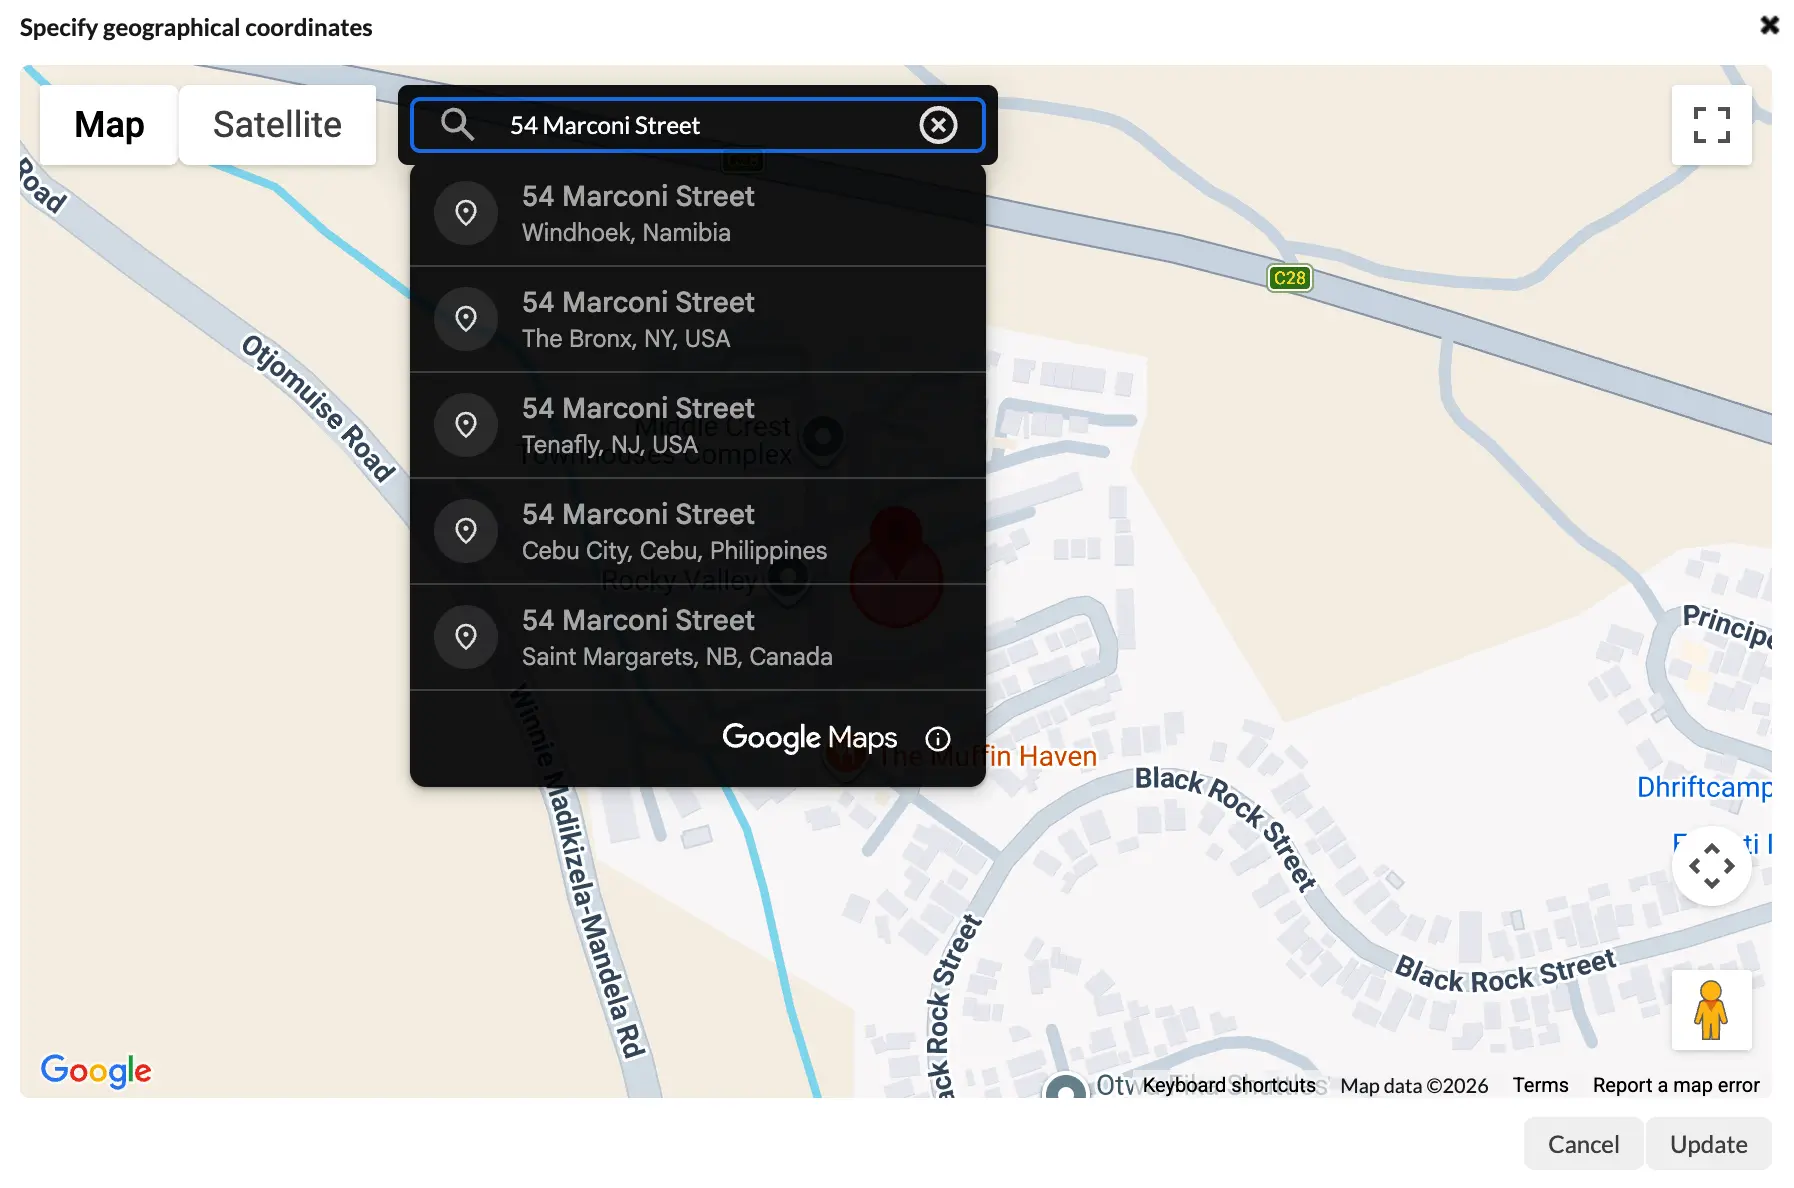
Once you’ve given your area a name and clicked on “set geographic coordinates” — a map will appear and you’ll be able to search your desired location. In our example below, we want to set “54 Marconi Street” as our coordinates.
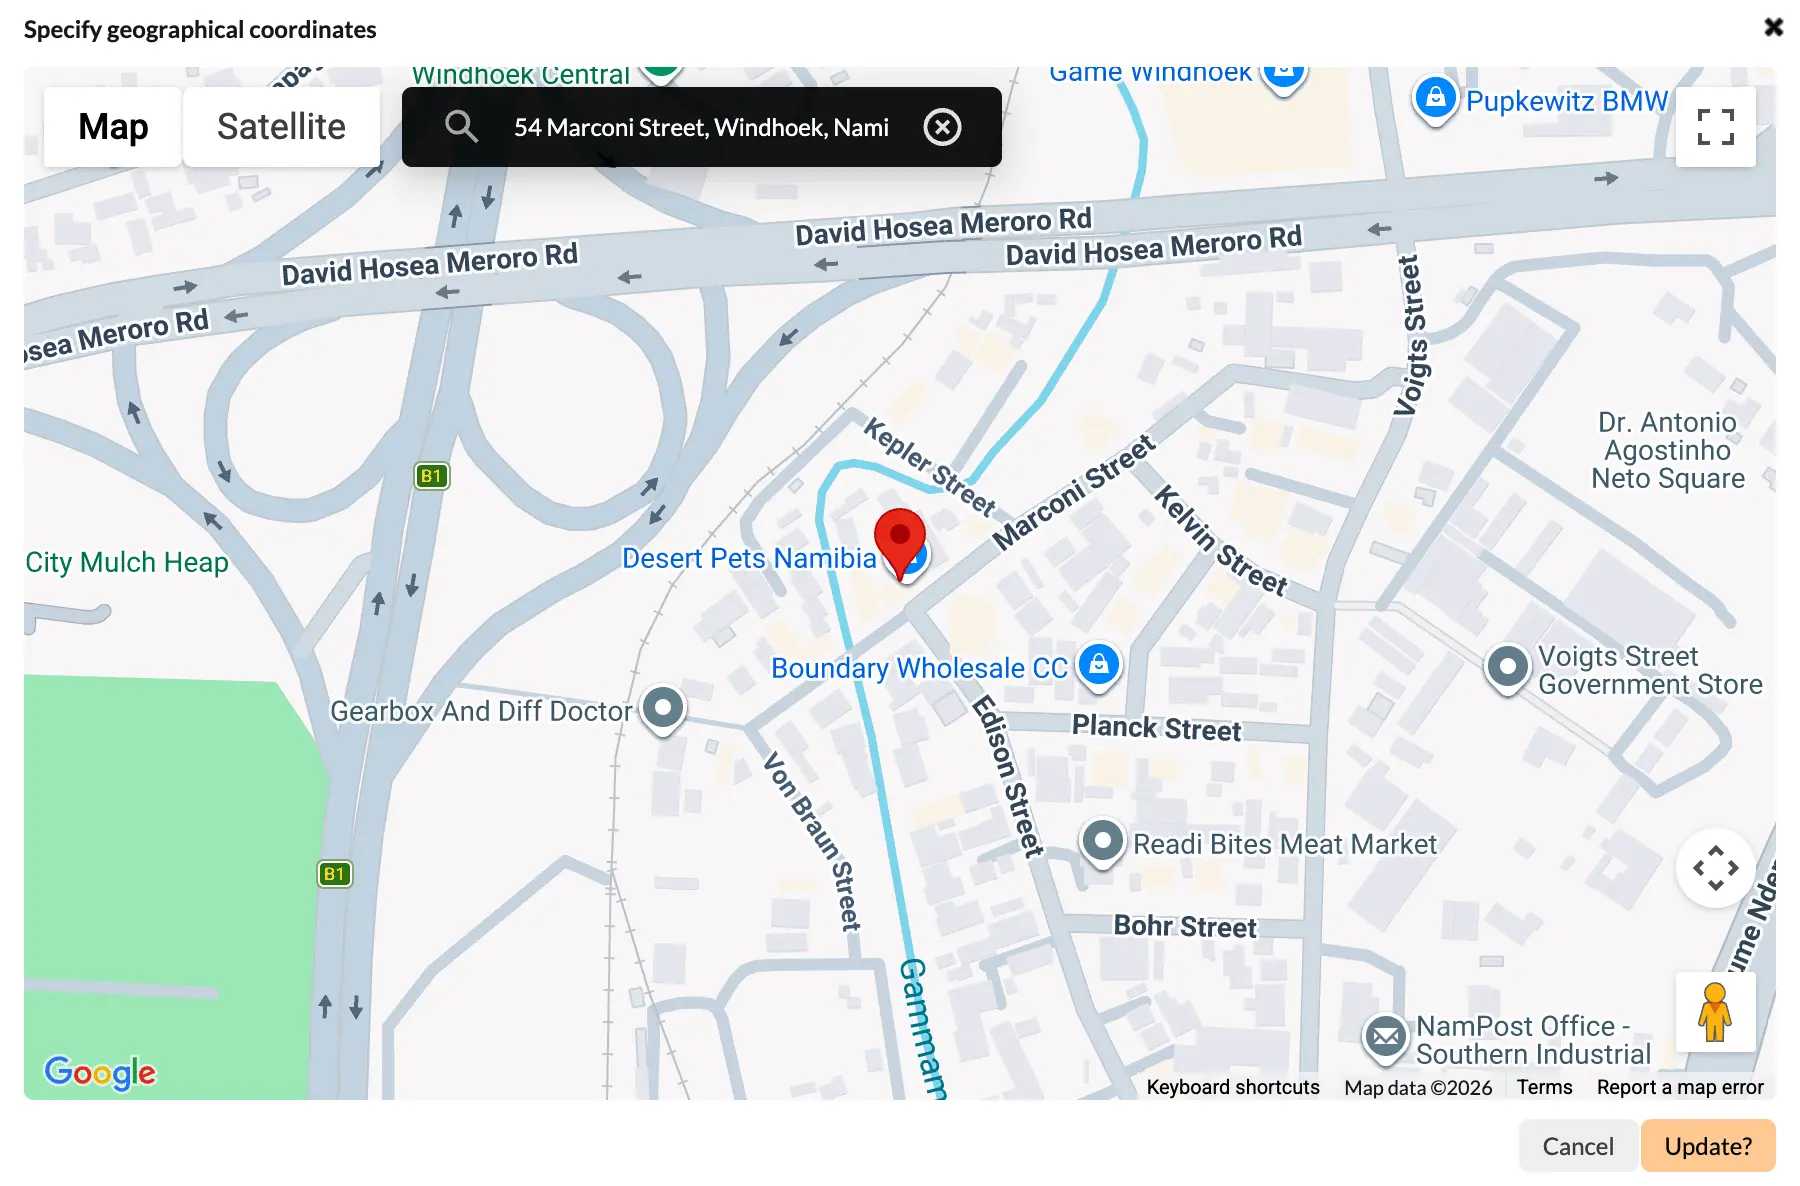
Once selected, click on update to set your location. The update button will turn orange with the Update written with a question mark (?) requesting the user to confirm their chosen location, before auto-saving.
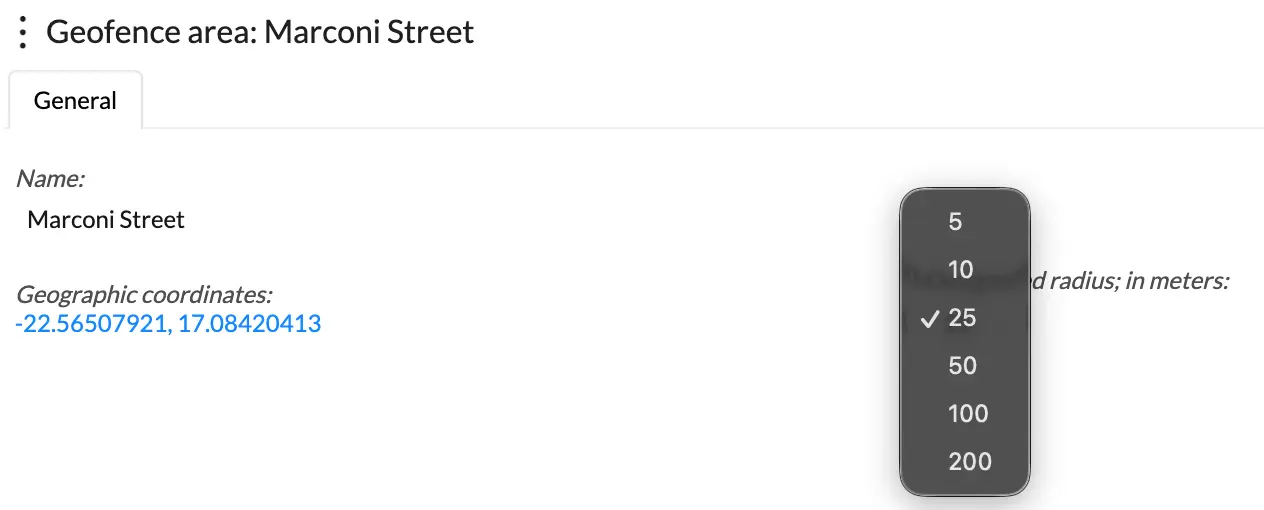
When the coordinates have been successfully updated, the below window will be displayed with the set coordinates. The user will be able on the screen to define the required clocking radius.
Linking your geofence area to a branch
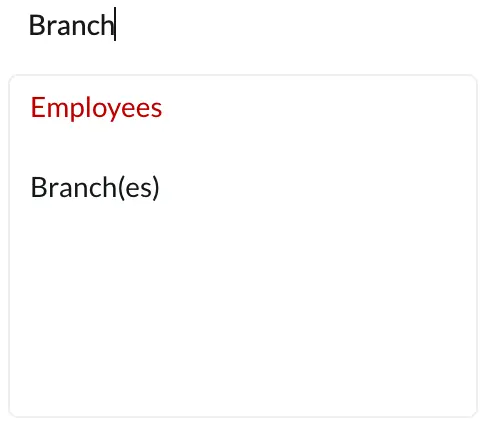
Navigate to the Branch(es) section in BC Time as indicated below. Click “Branch(es)” in order to access the branch view.
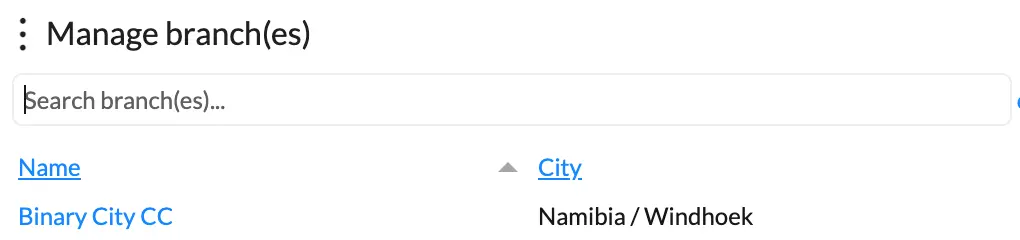
In the Manage branch(es) view, select the branch to which your would like to link your geofence area. In our example below, we will click on Binary City CC as the branch we want to geofence.
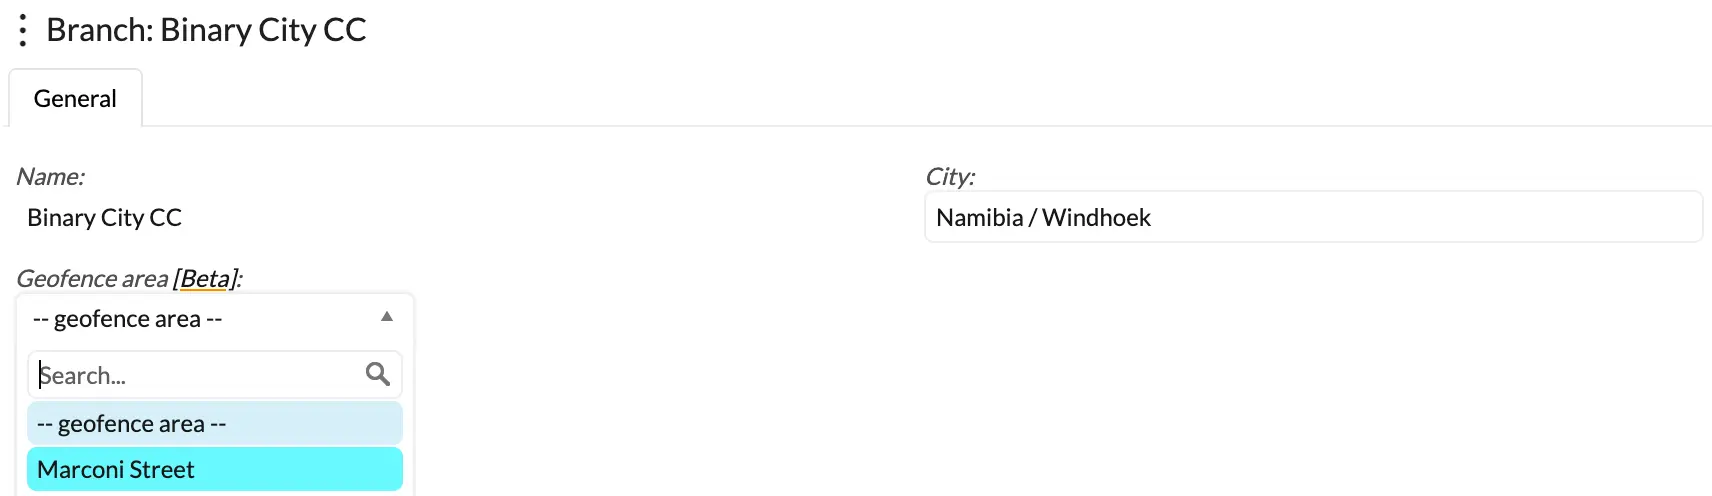
Once selected, the below window will appear, with the option to select and link the Geofence area (Marconi Street) that was initially created.
Mobile Attendance via the App allows employees to clock in and out from multiple set geofence locations/areas. Instead of limiting a branch to a single geofence, you can assign multiple geofence areas to the same branch. This is particularly useful for organizations with multiple work sites, locations, or employees who regularly work across different areas.
Once the geofences have been created, navigate to the relevant branch and you (user) will be able to link one or more geofence areas to that branch. Any employee assigned to a branch with multiple geofence areas will be able to clock in and out from any of the linked geofence locations using the Mobile Attendance App.
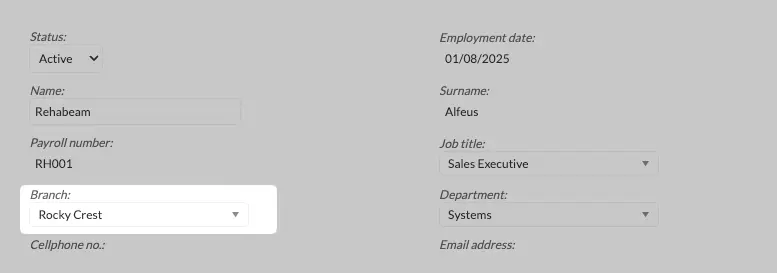
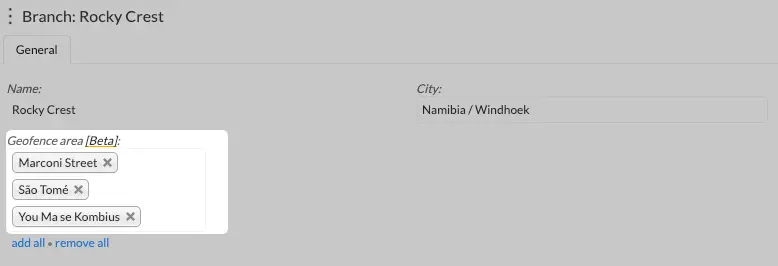
In the example below, employee "Rehabeam Alfeus" is linked to the branch "Rocky Crest" and this branch has multiple geofence areas linked to it.
1, Employee details view:
2. Branch setup view:
Mobile Attendance Web Access
Mobile attendance can be accessed from any device through a web browser, without the need to install the mobile application to your device. When a "Prepare sensitive data" link is issued from BC Time, it will be sent to the email address registered on the user's or manager’s profile.
Opening this link on your device will prompt you to "Sign in with Binary City Time", allowing you to proceed with web-based access instead of using the mobile application.
Prepare sensitive data for web access
While logged into BC Time, navigate to your mobile device and enter the Mobile attendance menu.

The below window will be displayed, with the mobile device initially set up for the respective user/manager.

Clicking the required mobile device will present a screen with your device details and an option to click the “prepare sensitive data” option. To access your device at setup the user must complete this step in order to get a link to access the device.

Having clicked on “prepare sensitive data” — the below pop up window will appear. The user should click continue twice to confirm the preparation of sensitive data for the selected mobile device.

Login to access Mobile attendance
The user should proceed to their preferred device to access the link sent to the email address configured for this specific device. The below image shows how the email will appear in the user’s inbox.

Click the link in blue “let’s get started” and you’ll be redirected to the BC Time login page, if you device wasn’t initially logged into mobile attendance . Below the user will be prompted to login with their BC Time credentials.

Complete the 2-step verification process, by entering the 6 digit code sent to your email address as indicated in the below image.

Upon successful login, the user will be directed to the Binary City authorisation page to allow the device to authorize the user’s credentials. Click on “I’ll allow it” to proceed to the mobile attendance page.

On the Mobile attendance page you’ll be presented with the option to “Login with Binary City Time” or “Continue in mobile app”.

A pop up window may be displayed on the device asking the user if they would like to open the mobile app. To continue with web access simply select “No”.

Note: The user may also be prompted by the application to select their preferred time format (24 Hour or 12 Hour) at this point at login — select your preferred format if this wasn’t already set in the settings of your mobile device.
The user will now see the employees displayed as per their authorized branch(s) and department(s) to which they have access. You are now ready to start clocking your employees for their respective shifts.

Mobile Attendance App Access
Download the BC Time: Mobile Attendance application
To get started, make sure you have the most recent version of the BC Time: Mobile Attendance app.
You can download it by searching for "BC Time: Mobile Attendance" in your device's app store:
- iOS: App Store
- Android: Play Store
See the image below showing the application you should download.

Prepare sensitive data for web access
While logged into BC Time, navigate to your mobile device and enter the Mobile attendance menu.
The below window will be displayed, with the mobile device initially set up for the respective user/manager.
Clicking the required mobile device will present a screen with your device details and an option to click the “prepare sensitive data” option. To access your device at setup the user must complete this step in order to get a link to access the device.
Having clicked on “prepare sensitive data” — the below pop up window will appear. The user should click continue twice to confirm the preparation of sensitive data for the selected mobile device.
Login to access Mobile attendance
The user should proceed to their preferred device to access the link sent to the email address configured for this specific device. The below image shows how the email will appear in the user’s inbox.
Click the link in blue “let’s get started” and you’ll be redirected to the BC Time login page, if you device wasn’t initially logged into mobile attendance . Below the user will be prompted to login with their BC Time credentials.
Complete the 2-step verification process, by entering the 6 digit code sent to your email address as indicated in the below image.
Upon successful login, the user will be directed to the Binary City authorisation page to allow the device to authorize the user’s credentials. Click on “I’ll allow it” to proceed to the mobile attendance page.
On the Mobile attendance page you’ll be presented with the option to “Log in with Binary City Time” or “Continue in mobile app”. Proceed to click on “Continue in mobile app”.
Having selected “continue to mobile app”, the user will be redirected to the app and prompted to login with their BC Time login details. Enter your BC Time username and password as indicated in the image below.

Upon successful login, the user will now see the employees displayed as per their authorized branch(s) and department(s) to which they have access. You are now ready to start clocking your employees for their respective shifts.

The app will display the employee's name, date and/or time the employee was last clocked with a green colour for clock in and red for clock out.
Mobile Attendance — Self service
Mobile attendance empowers employees to clock in and out for their shifts independently through a feature known as self-service clocking. Initiated from BC Time, this functionality gives employees the flexibility to record their attendance via the BC Time mobile app, WhatsApp, or a mobile web browser.
Once the self-service API and device have been set up in BC Time, an introductory message to one or more employees can be sent to them — provided their WhatsApp number is linked to their BC Time employee profile. Employees will receive this message directly in WhatsApp from Binary City Time, welcoming them to the BC Time Self-Service platform and getting them set up to start clocking straight away.
Create your self service device
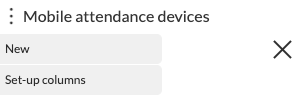
Navigate to the Mobile attendance devices menu in BC Time. Once in the menu, click the vertical meatballs to access the below window to create a new self service device.
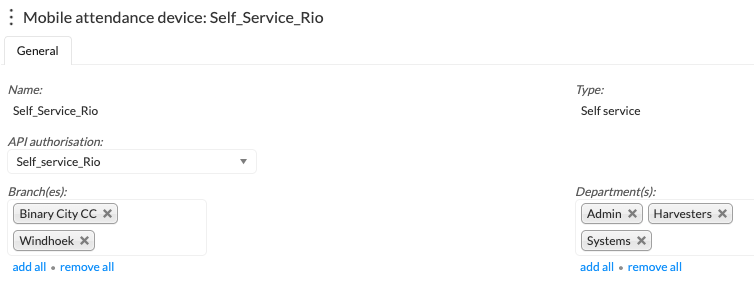
The below window will open. Give your device a name, select the type "Self service", link your created API and the required branches and departments for the employees who will be using the self service clocking platform.
Sending out an introductory message
From your mobile self service device created in BC Time, the BC Time user will access the “Send introductory message” window by clicking the meatballs menu. The introductory message will be sent to all employees linked to the branch(es) and department(s) as linked to this self service device.

Clicking on “Send introductory message” a pop window will appear stating that the message will be sent to the employees of the linked branches and departments. Click continue twice to confirm this action. This message will be sent to their whatsapp with instructions to activate their mobile device.


Activate WhatsApp Device for Clocking
To clock in via whatsapp (not mobile app), the employee should proceed to “Activate WhatsApp Device”. Your selection will be confirmed, and a new message will be sent, indicating that “You’re all set” and your Whatsapp device has been activated.

Click on "Start clocking", to get started. The below window will pop up to confirm the BC Time profile on which the employee will be clocking. In our example below, the profile name is “T&V Rio Test Profile”. Your profile will be your company. Click the company name and send.

Your company profile will be confirmed and a new message will be sent back with the two available clocking states: Clock in and Clock out.

The employee is now ready to start clocking via whatsapp. Select the clocking state, Clock in at the start of your shift and Clock out at the end of your shift. BC Time self service will return a message confirming your selected state and the time which the state was clock as per the time on your device.
Os comentários não estão permitidos neste curso.