User(s)
User(s)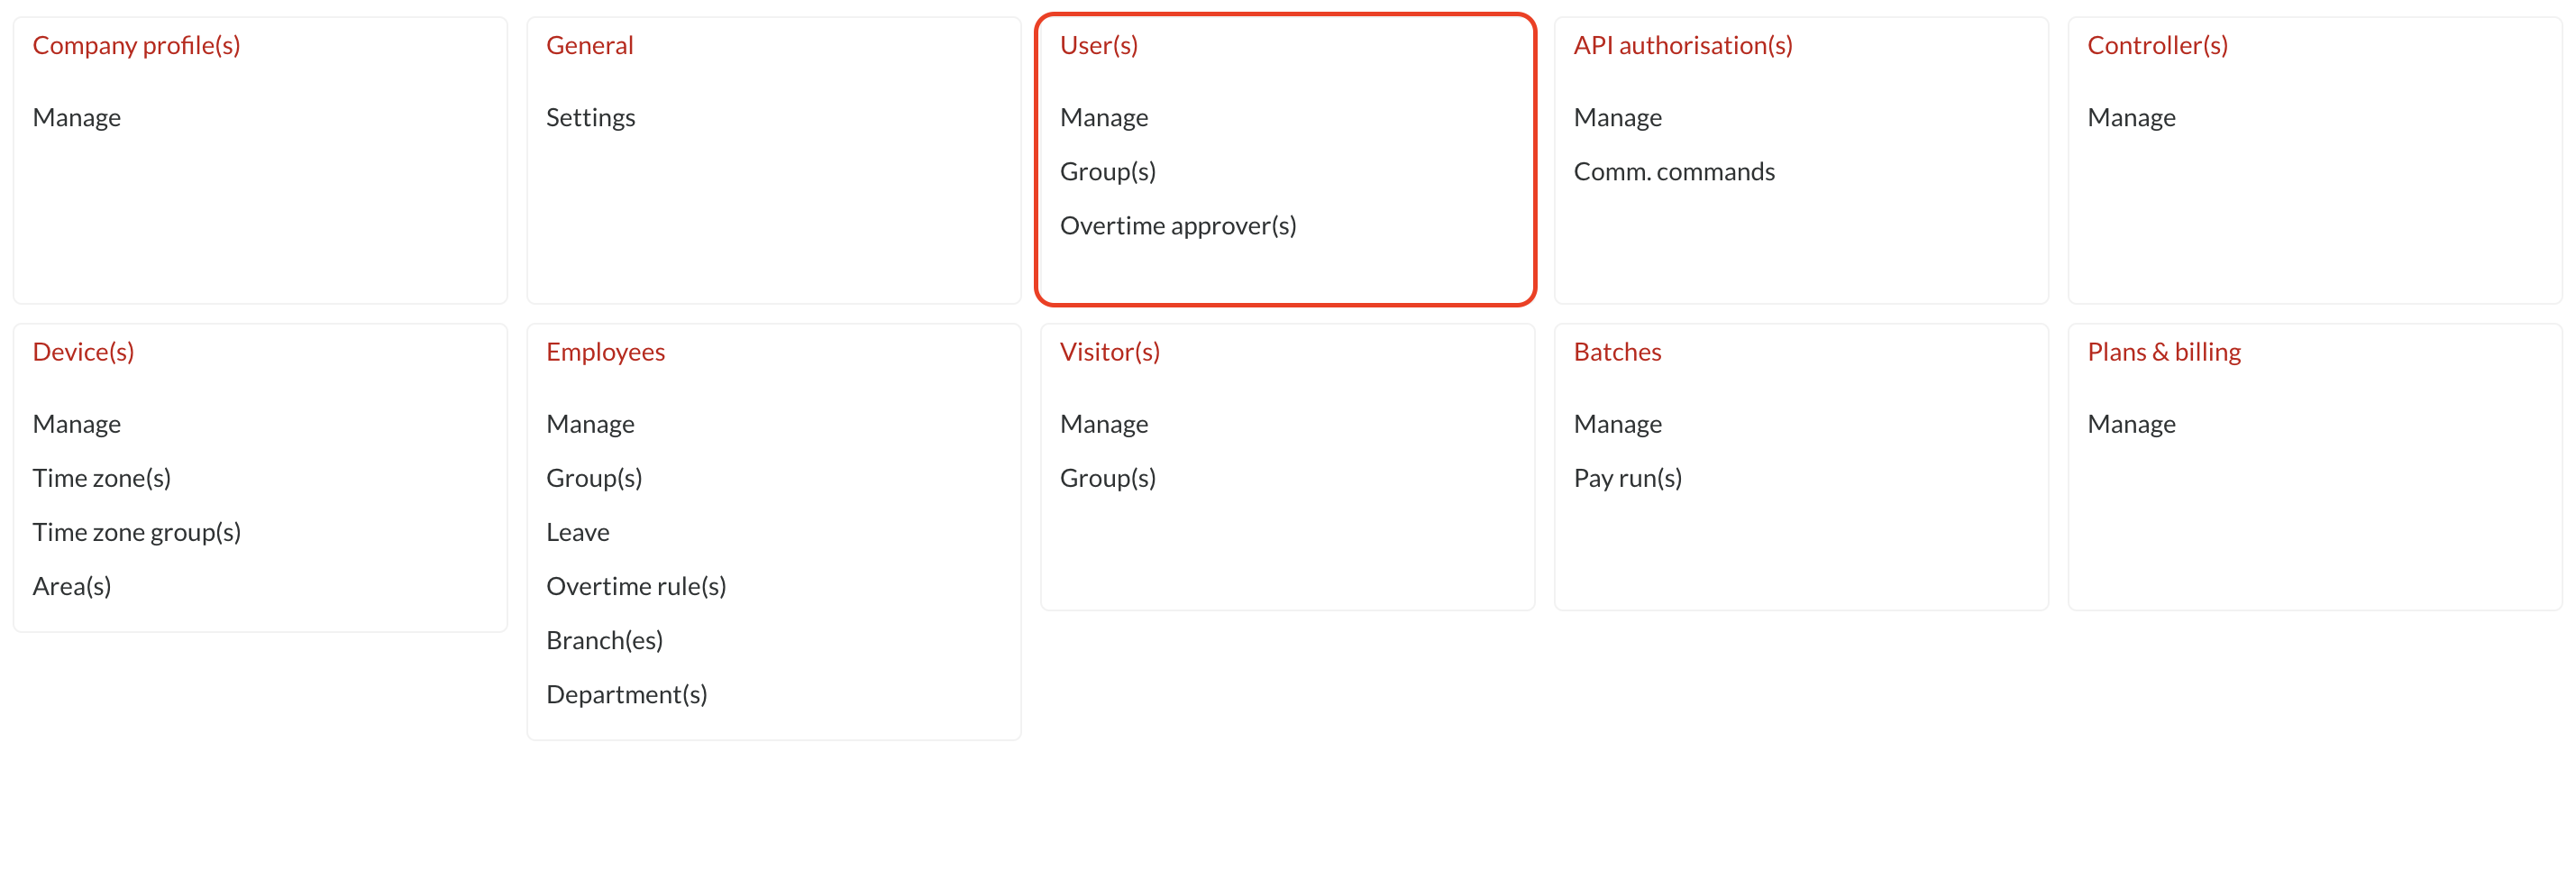
Manage
Here you can see all the users that are active in the profiles you have access to.

Step 2: Click on the ellipses button (dots) and select New to add a new user.

Active, Inactive, and Locked filter allows you to see user(s) based on this status. Once selected you'll only see users who are either, active, inactive, or locked.
Step 3: On the General tab, fill in the user’s details. Please note the user’s email address will be used as the user’s username (this needs to be unique).

Step 4: On the Language & region tab, please choose your preferred language (the user can always change this later themselves)
Step 5: Choose your company under Company profile membership (if you are unsure what your Company profile membership name is, please refer to the top right corner of your screen, next to your user name).

Step 6: Specify what kind of access the user should have (manage means user can edit, and view means user can only view) under the Role membership tab. It should be noted that we recommend making use of User group(s) access control instead of setting up access individually

Step 7: Alternatively, you can grant access to groups, and link users to a Group membership tab. (Hint: Click in the box, instead of typing the name of the group, press the down arrow to bring up the list of available groups.) This is an easy way to manage access for a lot of users (this will be dealt with in more detail in the next section of this manual)

Managing/editing users
To edit a user, click on the name of the user

Once you are viewing the user you can change details as you wish by typing in the field you want to change

To make a User inactive, click on Active and choose Inactive

In this section, you can also retrieve single-use backup codes. More detail and steps on this here: https://support.bcity.me/knowledge-base/how-to-access-single-use-backup-codes
Groups
User group(s) is a way to manage user access for a lot of users by creating a group with the access levels you want, and then linking users to that group (as opposed to setting up access individually for each user)
Create a new User group
Step 1: Click on Group(s) under the heading User(s)
Step 2: Click on ellipses button (dots) and select New

Step 3: Under the General tab, give your User group a name
Step 4: Under the Role membership tab, you can set up what kind of access you want persons assigned to this group, to have. Access can also be restricted by branch under the listed branches.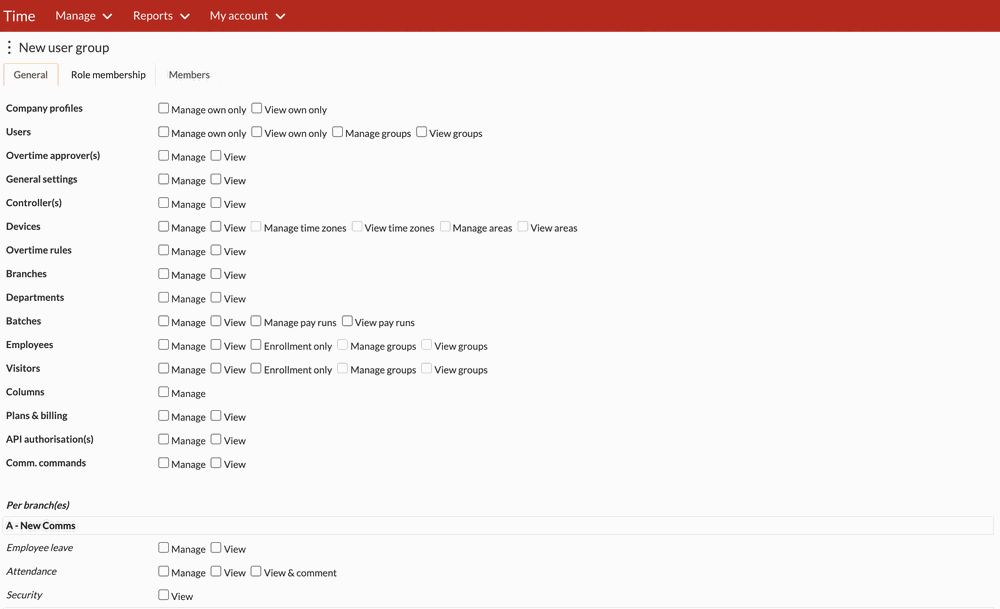
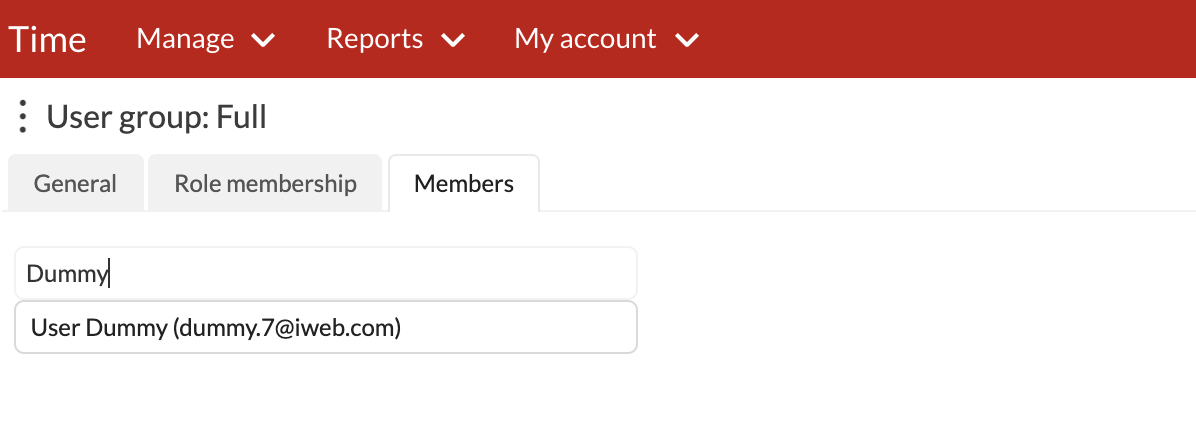
Step 5: Under the Members tab, you can assign users to your group. Users will be assigned to groups according to the type of access you want them to have - for example, some users might only have viewing access and some users might have access to make changes in the application.

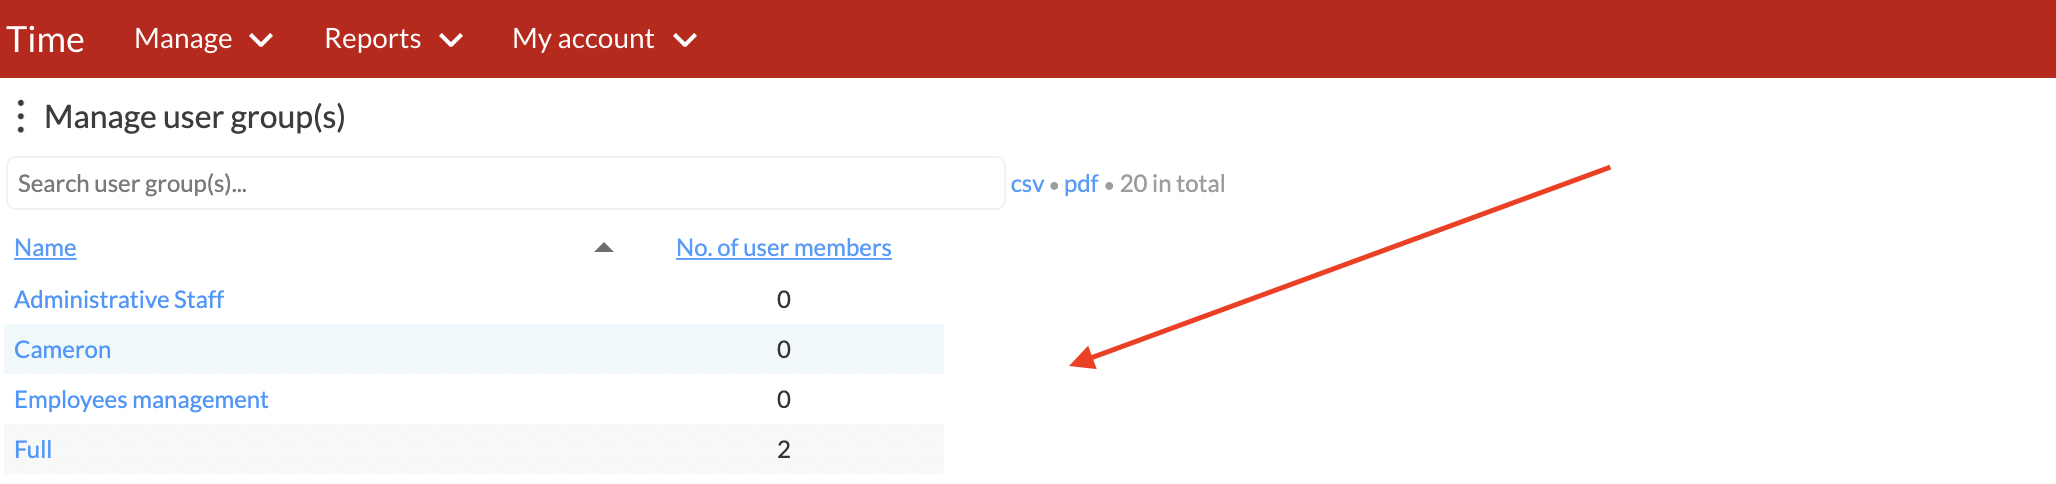
Managing/editing groups
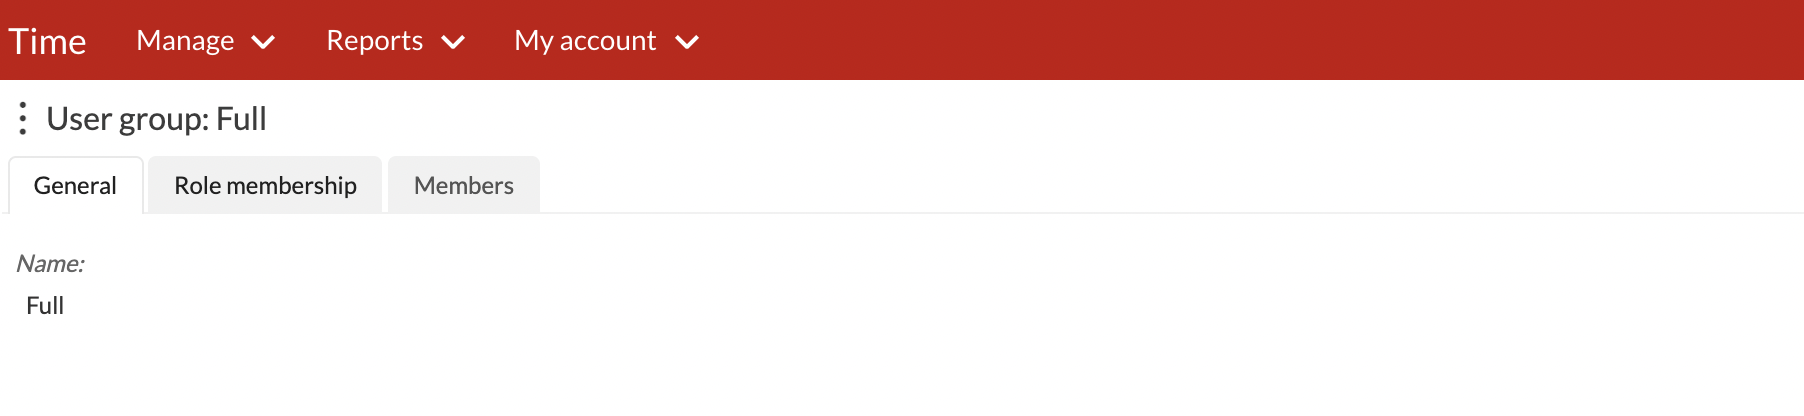
To view details or edit a group, click on the group you wish to view
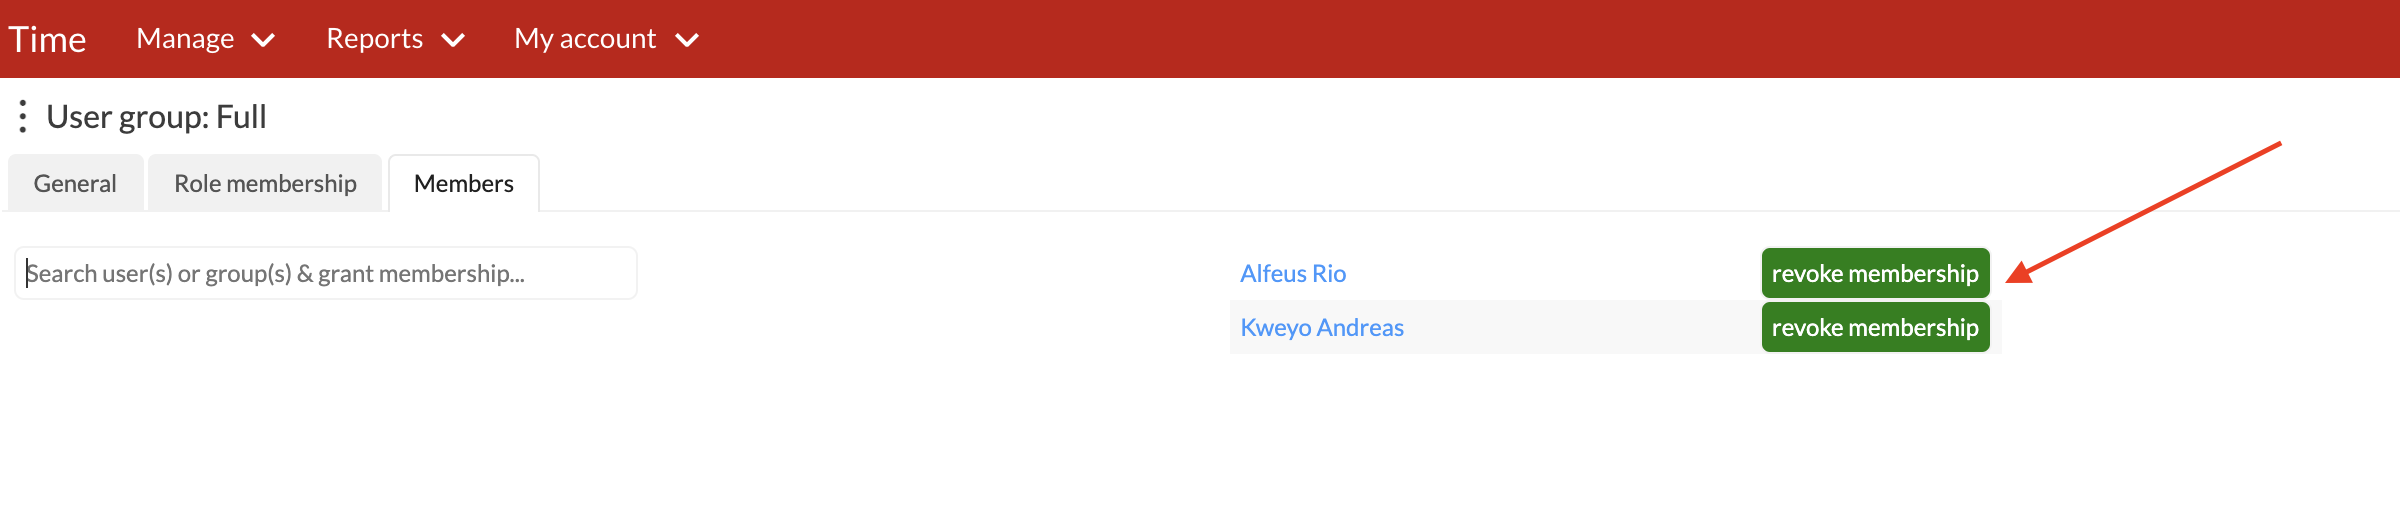
Here you can change the name, change the Role membership settings or add/remove users.
To assign a user to the group, simply type the user's name into the search bar and select the user's name from the list. You can also press the down arrow on your keyboard to bring up a list of available users.
To remove a user from the group, simply click on Revoke membership next to his/her name
Overtime Approver(s)
Overtime Approvers is where we get to add users who will be responsible for approving and denying employee overtime allocation
Create a new Overtime Approver
Step 1: Click on Overtime Approver(s) under the heading User(s)
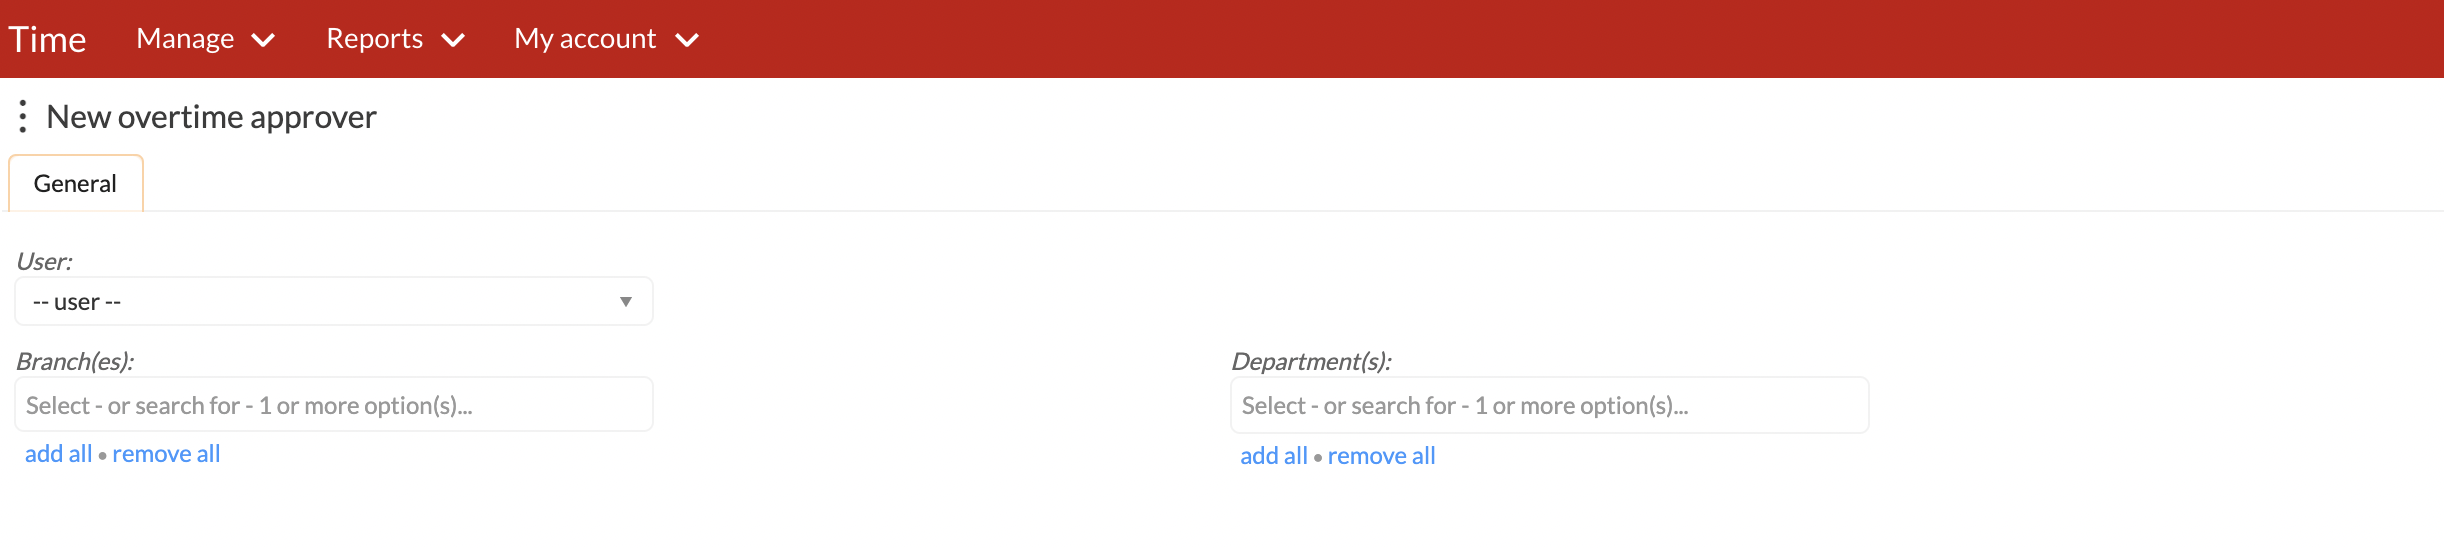
Step 2: Click on ellipses button (dots) and select New

Step 3: Fill in all the required fields. Select the users, the department(s), and branch(es) they should approve overtime for.
Os comentários não estão permitidos neste curso.